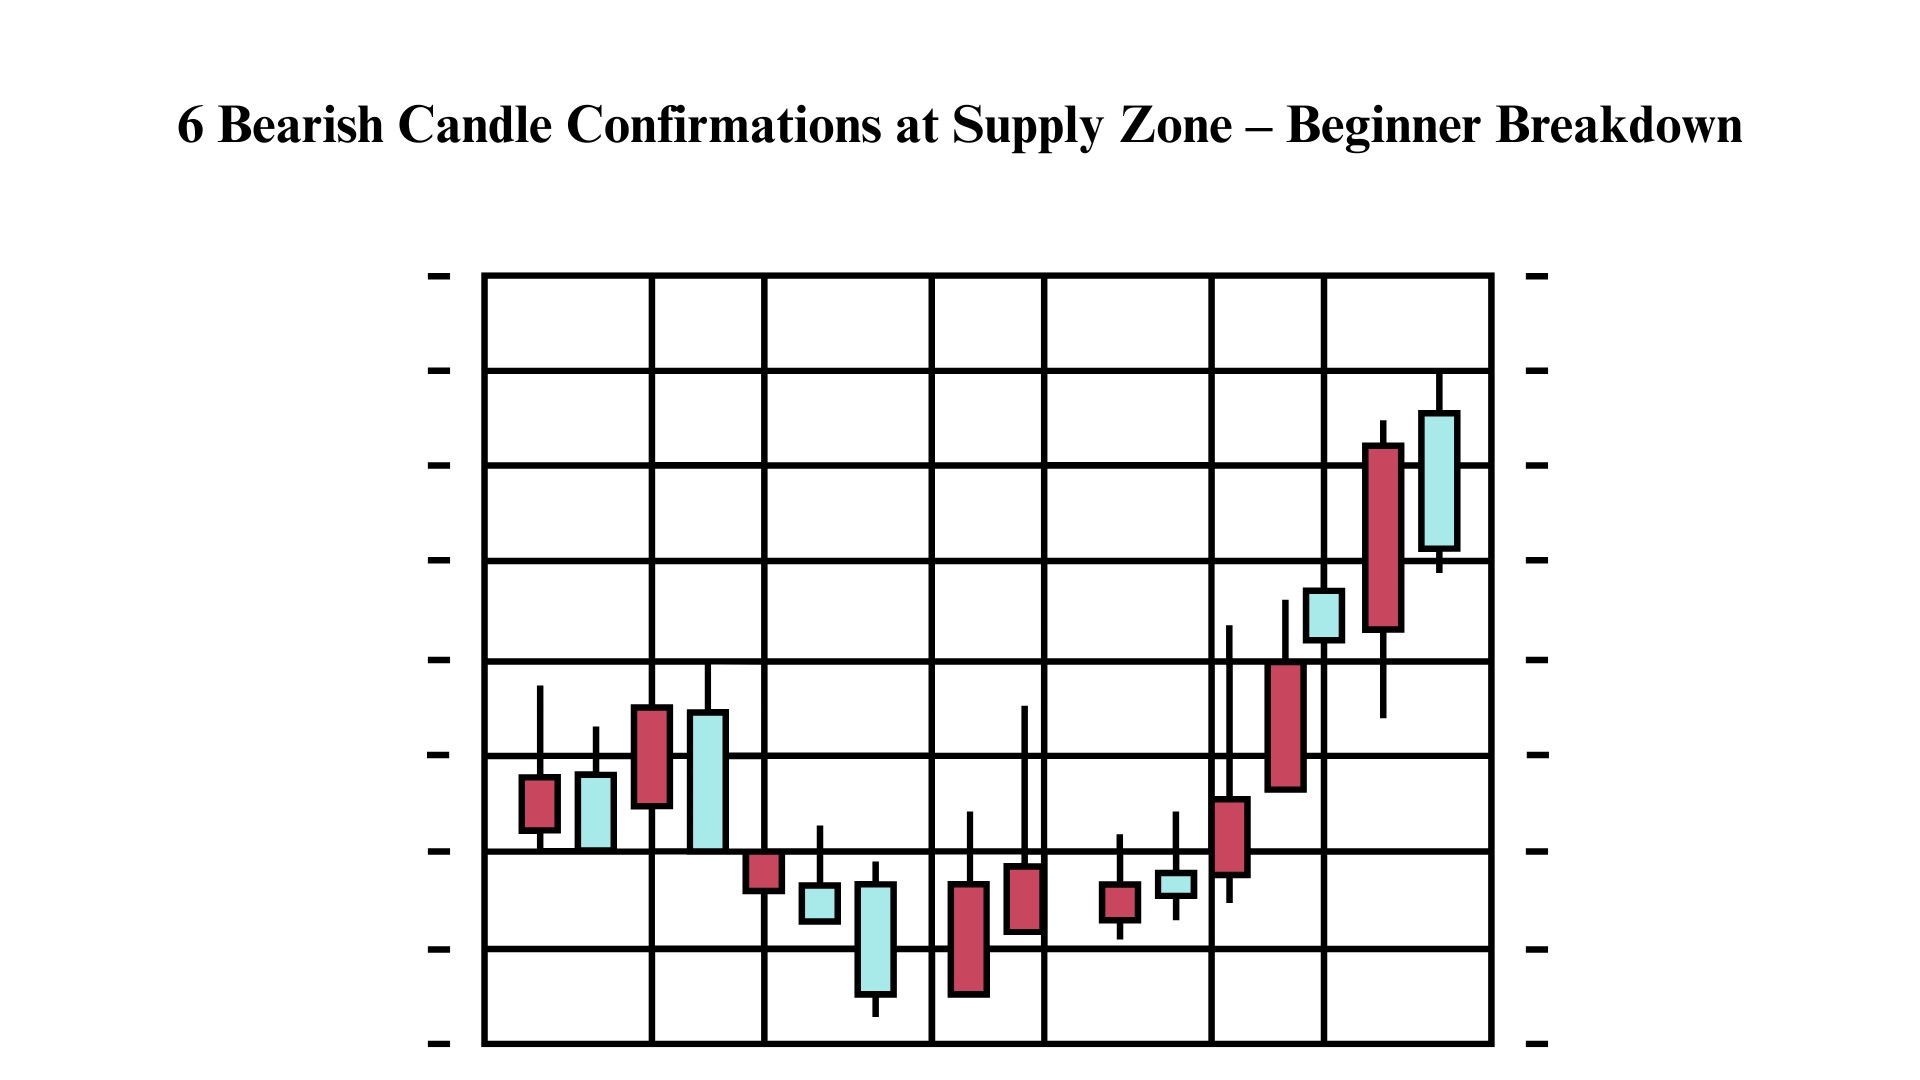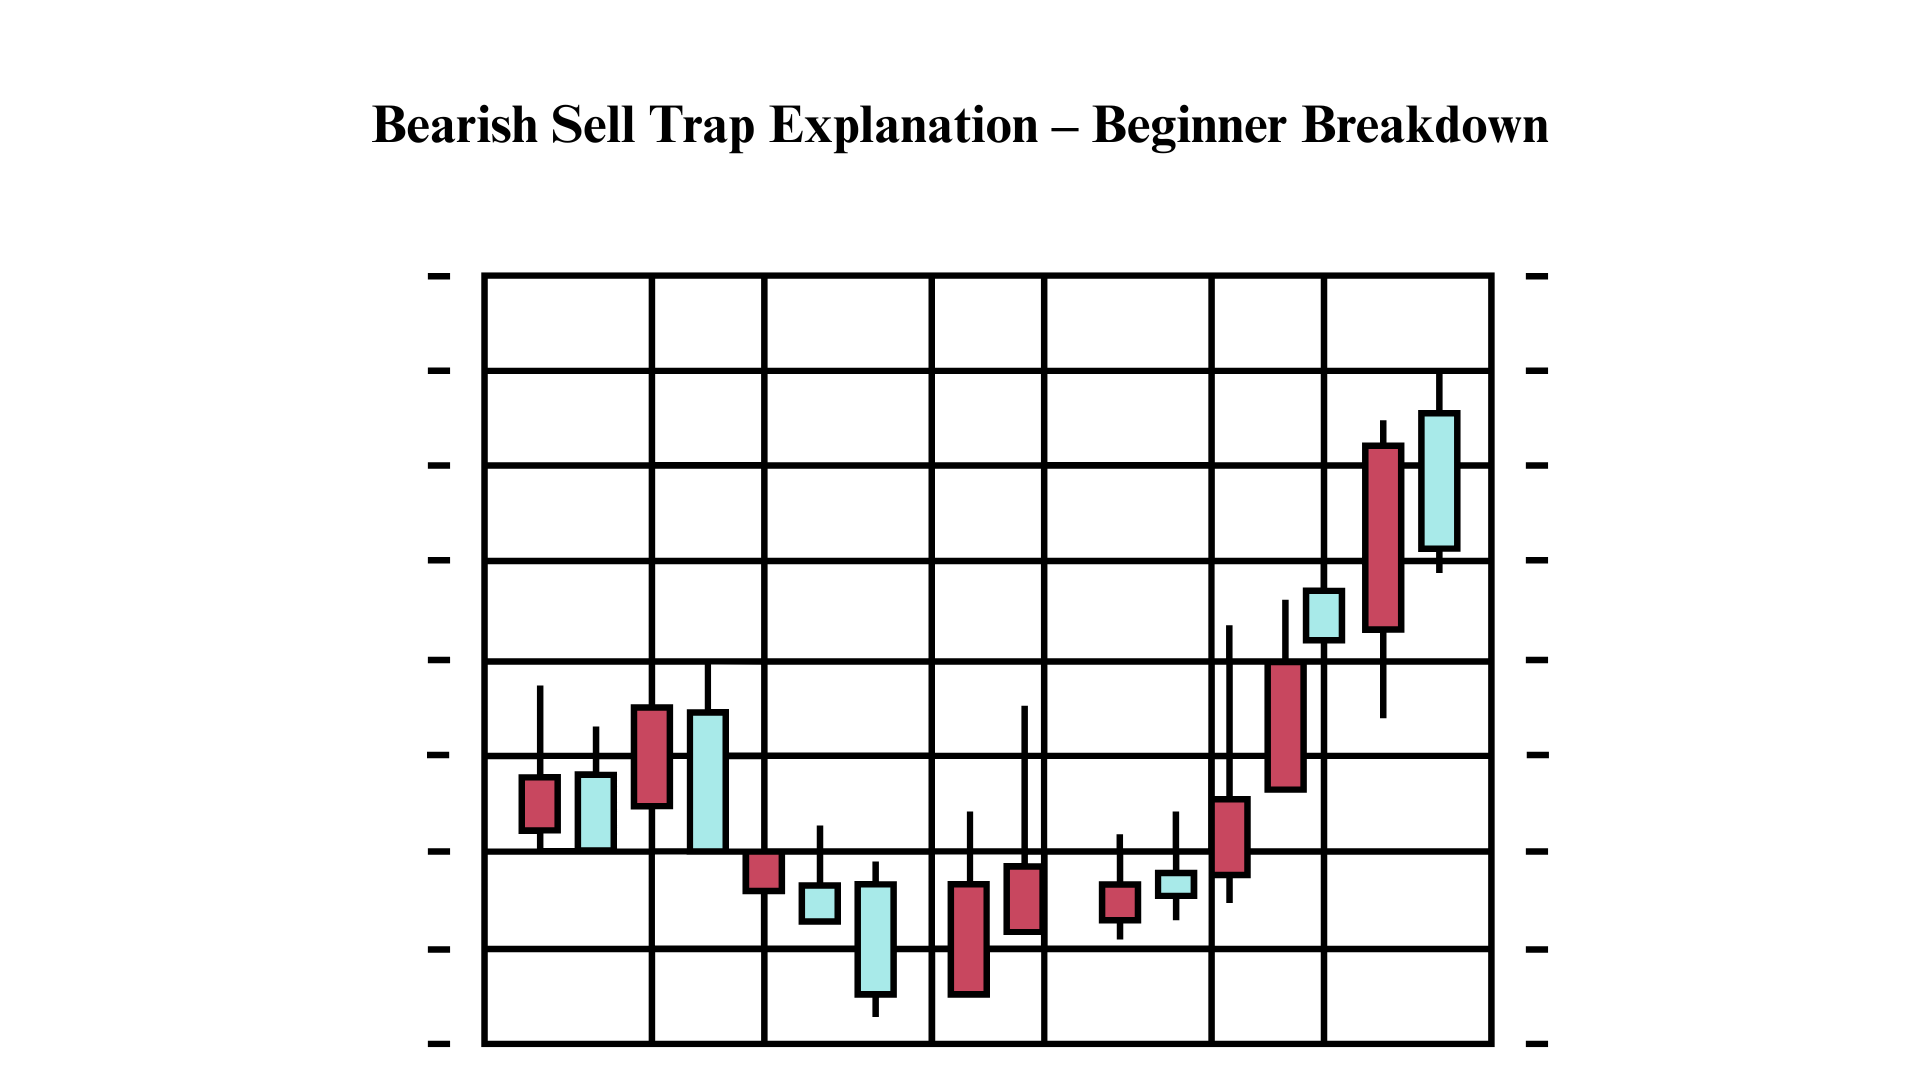

6 Bearish Candle Confirmations at Supply Zone – Beginner Breakdown
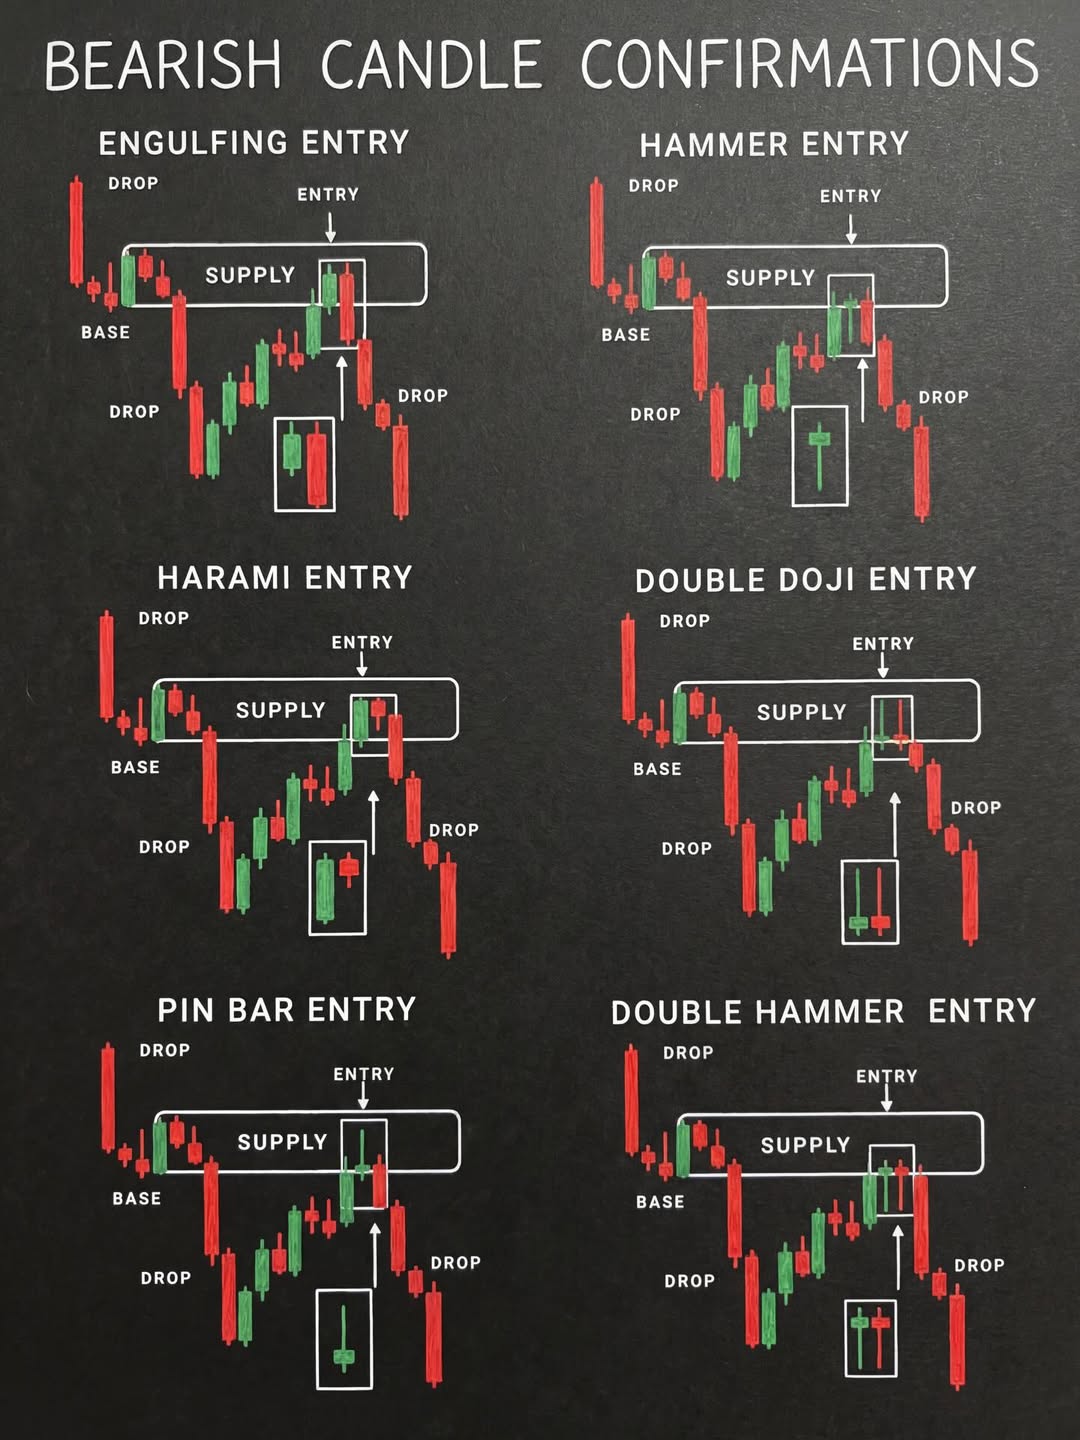
All six setups share the same structure: price drops from a supply zone, forms a base , then pulls back up into the supply zone. You're looking for a specific candlestick confirmation pattern at supply before entering short. The difference is which candle pattern triggers your sell.
1. Engulfing Entry
Price returns to supply and a large bearish (red) candle completely engulfs the previous smaller bullish candle. The red candle's body covers the entire green candle. This shows sellers violently overpowered buyers in one candle — strong, aggressive rejection.
2. Hammer Entry (Inverted Hammer)
At the supply zone, an inverted hammer forms — a candle with a long upper wick and small body near the bottom. The long wick above means buyers tried to push higher but were rejected hard. Sellers slammed price back down within that single candle.
3. Harami Entry
A small candle forms completely inside the body of the previous larger candle at supply. The small candle shows indecision — momentum is dying. Buyers are running out of steam at resistance, signaling sellers are about to take over.
4. Double Doji Entry
Two doji candles appear at the supply zone — candles with tiny bodies and roughly equal wicks top and bottom. One doji means indecision; two in a row means the market is completely stalling at supply. This stalling almost always resolves with a drop since buyers clearly can't push through.
5. Pin Bar Entry
A classic pin bar at supply — long upper wick poking into the zone with a small body at the bottom. Similar to the inverted hammer but often with an even longer wick relative to the body. The wick "pins" into supply and gets violently rejected, showing sellers are defending that level aggressively.
6. Double Hammer Entry
Two inverted hammers (or shooting stars) appear back-to-back at the supply zone. If one rejection wick is strong, two is even stronger. Repeated failure to break above supply confirms sellers are in full control. Higher probability entry than a single hammer.
Key takeaway: Never sell blindly when price reaches a supply zone. Wait for one of these six candlestick patterns to appear at the zone as your confirmation . The pattern is your proof that sellers have shown up. No confirmation = no trade.
Two powerful trading tools. One serious edge.
Tired of second-guessing your entries? These two precision indicators — available for both MT4 and MT5 — do the heavy lifting for you.
Divergence Matrix Scanner — MT4 | MT5
Catch divergence signals before the move happens. This scanner monitors 10 indicators simultaneously — RSI, MACD, Stochastic, CCI, OBV, CMF, MFI and more — across 20 pairs x 9 timeframes in real time. Both regular and hidden divergence detected. Nothing slips through.
Forex Stellar Signal Dashboard — MT4 | MT5
Get crystal-clear BUY and SELL signals directly on your chart. This dashboard scans 20 currency pairs across all timeframes — from M1 up — and also works on XAUUSD, US30, and NAS100. No guessing. Just clean, actionable signals with visual alerts.