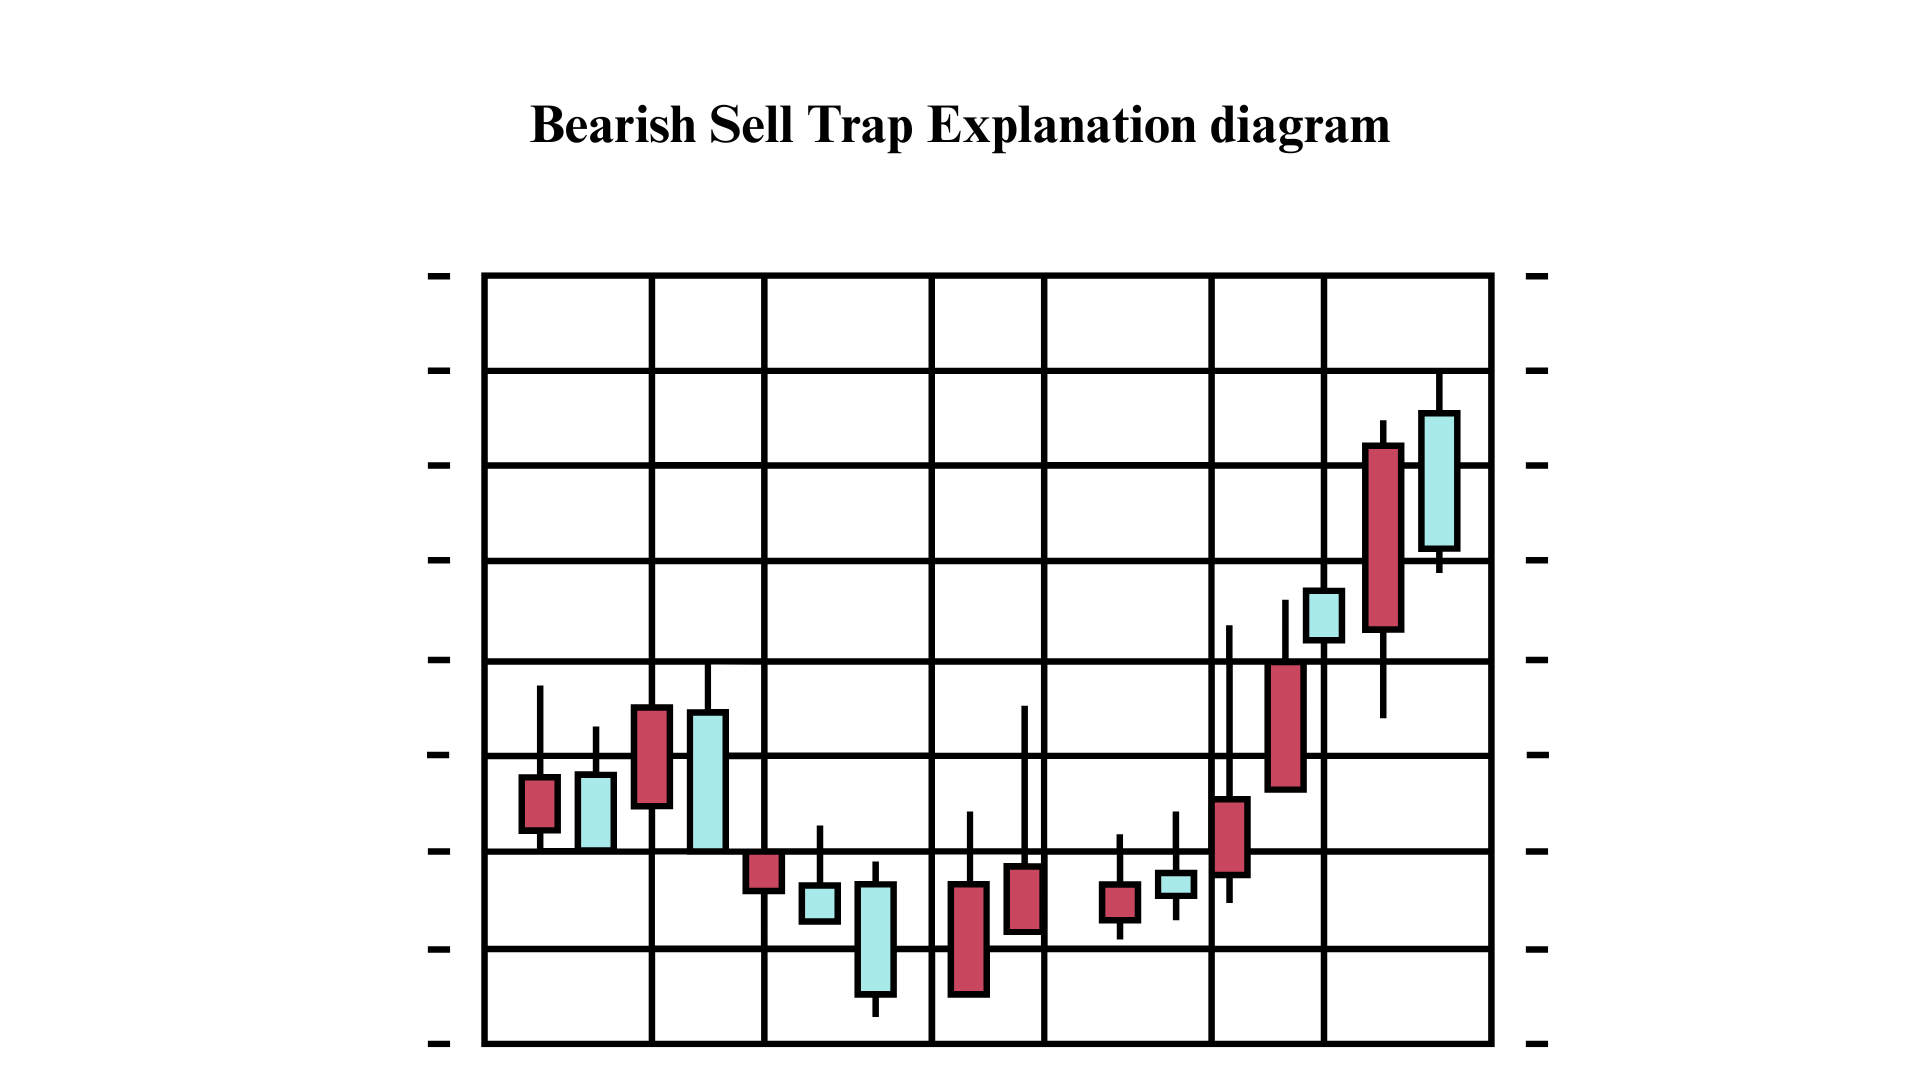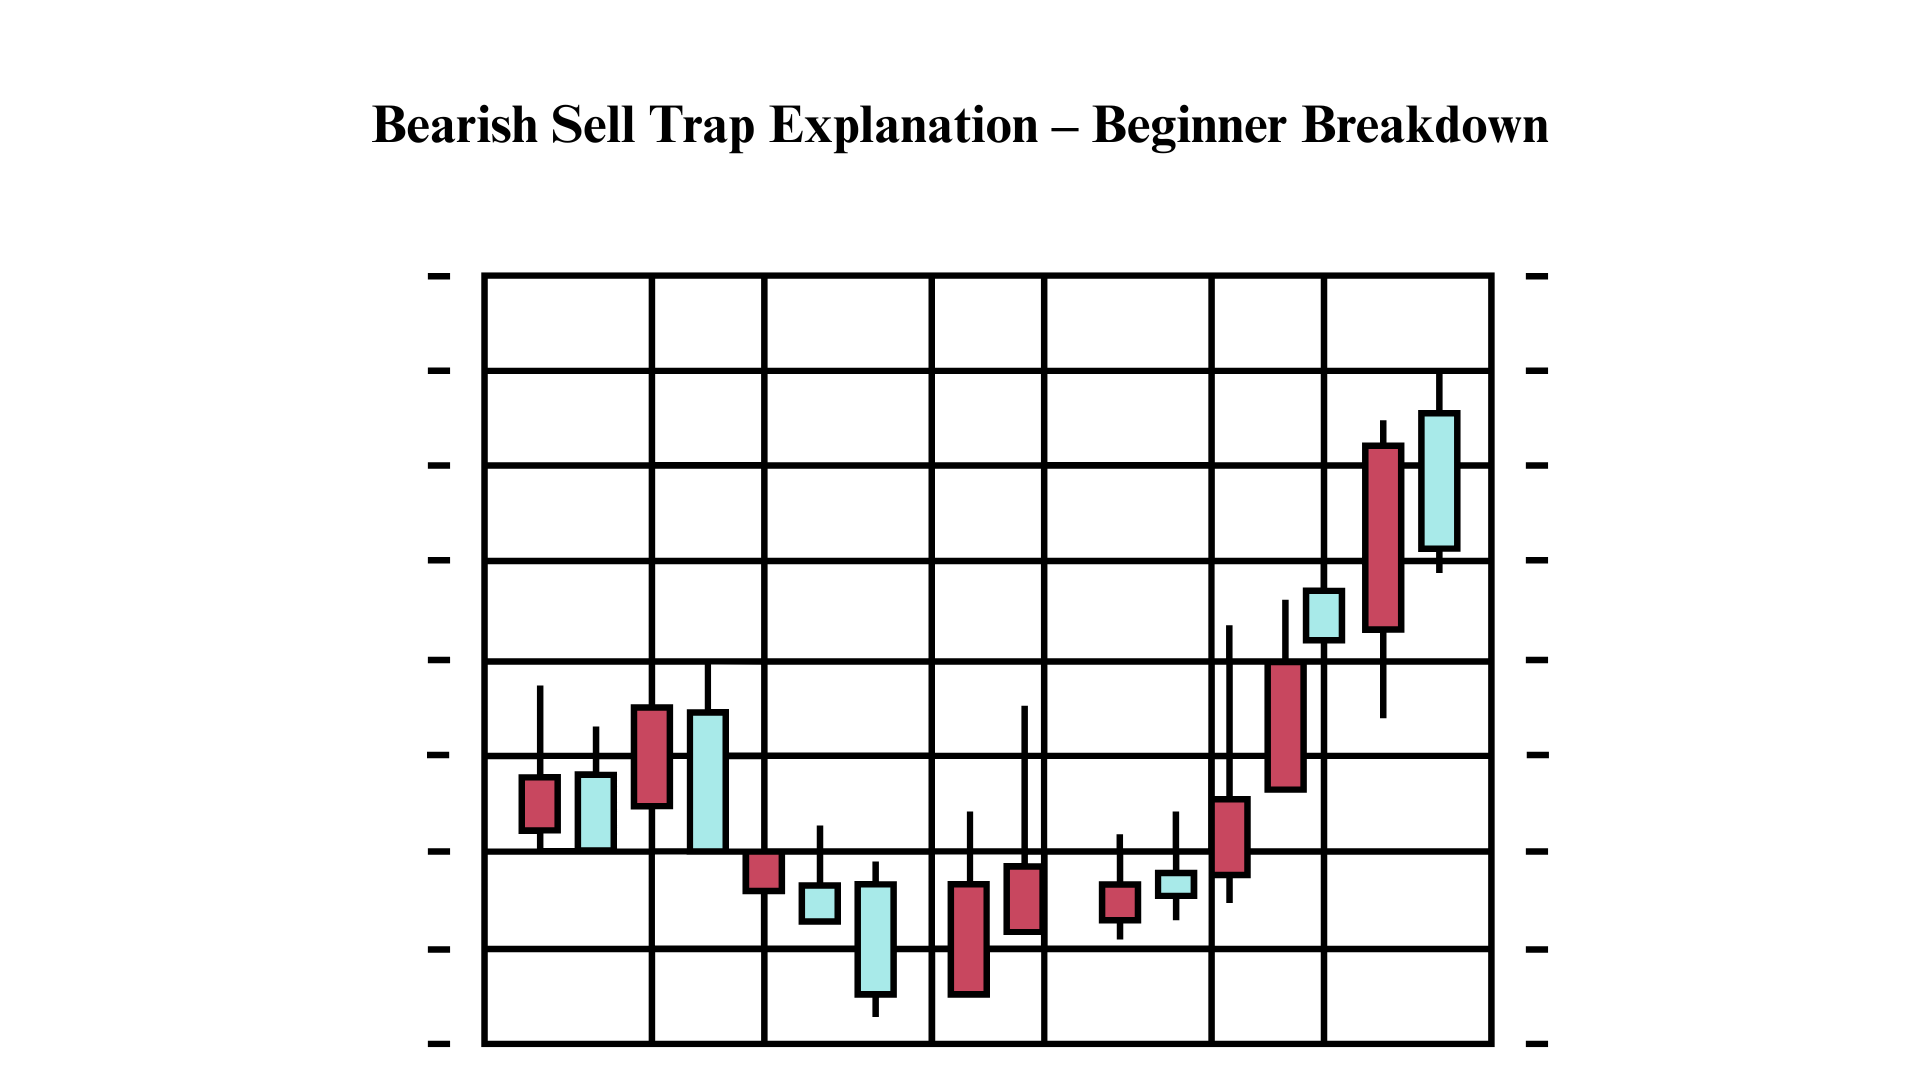

Bearish Sell Trap Explanation – Beginner Breakdown
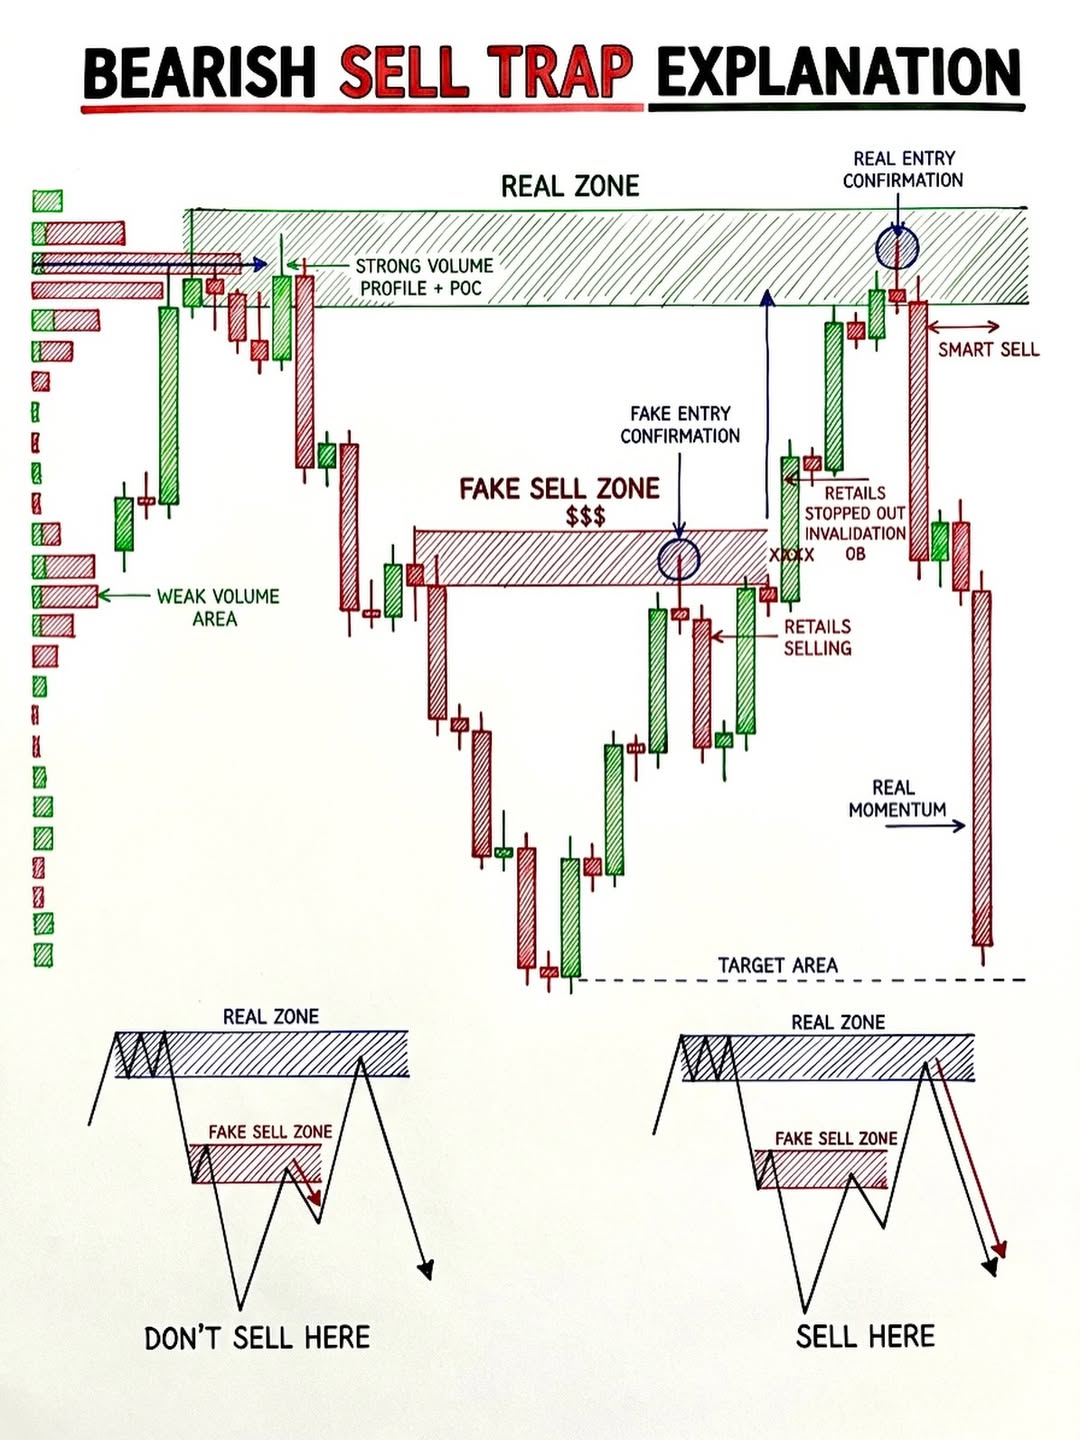
This diagram teaches you the difference between where retail traders get trapped selling and where smart money actually sells.
The Main Chart — How the Trap Works
Step 1: The Real Zone (Top)
At the very top there's a Real Zone — the actual supply area backed by strong volume profile and Point of Control (POC). This is where institutional sellers are actually positioned. But smart money doesn't want you to sell here yet — they need your liquidity first.
Step 2: The Fake Sell Zone (Middle)
Price drops from the Real Zone and creates what looks like an obvious supply/resistance area in the middle — the Fake Sell Zone ($$$). This looks perfect on the chart: clean structure, obvious order block. Retail traders see this and start selling — that's exactly the trap.
Step 3: Retail Gets Destroyed
Retail traders enter short at the Fake Sell Zone. Price then pushes back up through it, stopping out all those shorts (marked with XXXX — invalidation). Their stop-losses become buy orders, which gives smart money the liquidity they need. The order block is broken and retailers are wrecked.
Step 4: The Real Entry — Smart Sell
Price pushes all the way back up to the Real Zone at the top. NOW the real entry confirmation appears. Smart money sells here — this is the "Smart Sell" with actual institutional backing. Price then drops with Real Momentum all the way down to the Target Area at the bottom.
The Two Summary Diagrams at the Bottom
"DON'T SELL HERE" (Left)
Price drops from the Real Zone and pulls back to the Fake Sell Zone below it. Selling at this intermediate zone is the trap — price hasn't gone back to sweep the liquidity above and retest the Real Zone. You'll get stopped out.
"SELL HERE" (Right)
Price drops, creates the Fake Zone, then rallies all the way back up to the Real Zone at the top, sweeping everyone's stops along the way. THAT retest of the Real Zone with confirmation is where you sell. Price then drops decisively.
The lesson in one sentence: Don't sell at the first obvious zone you see — wait for price to sweep that obvious zone, trap the retail sellers, and then sell at the real institutional level above it after confirmation. Patience beats impulse every time.