
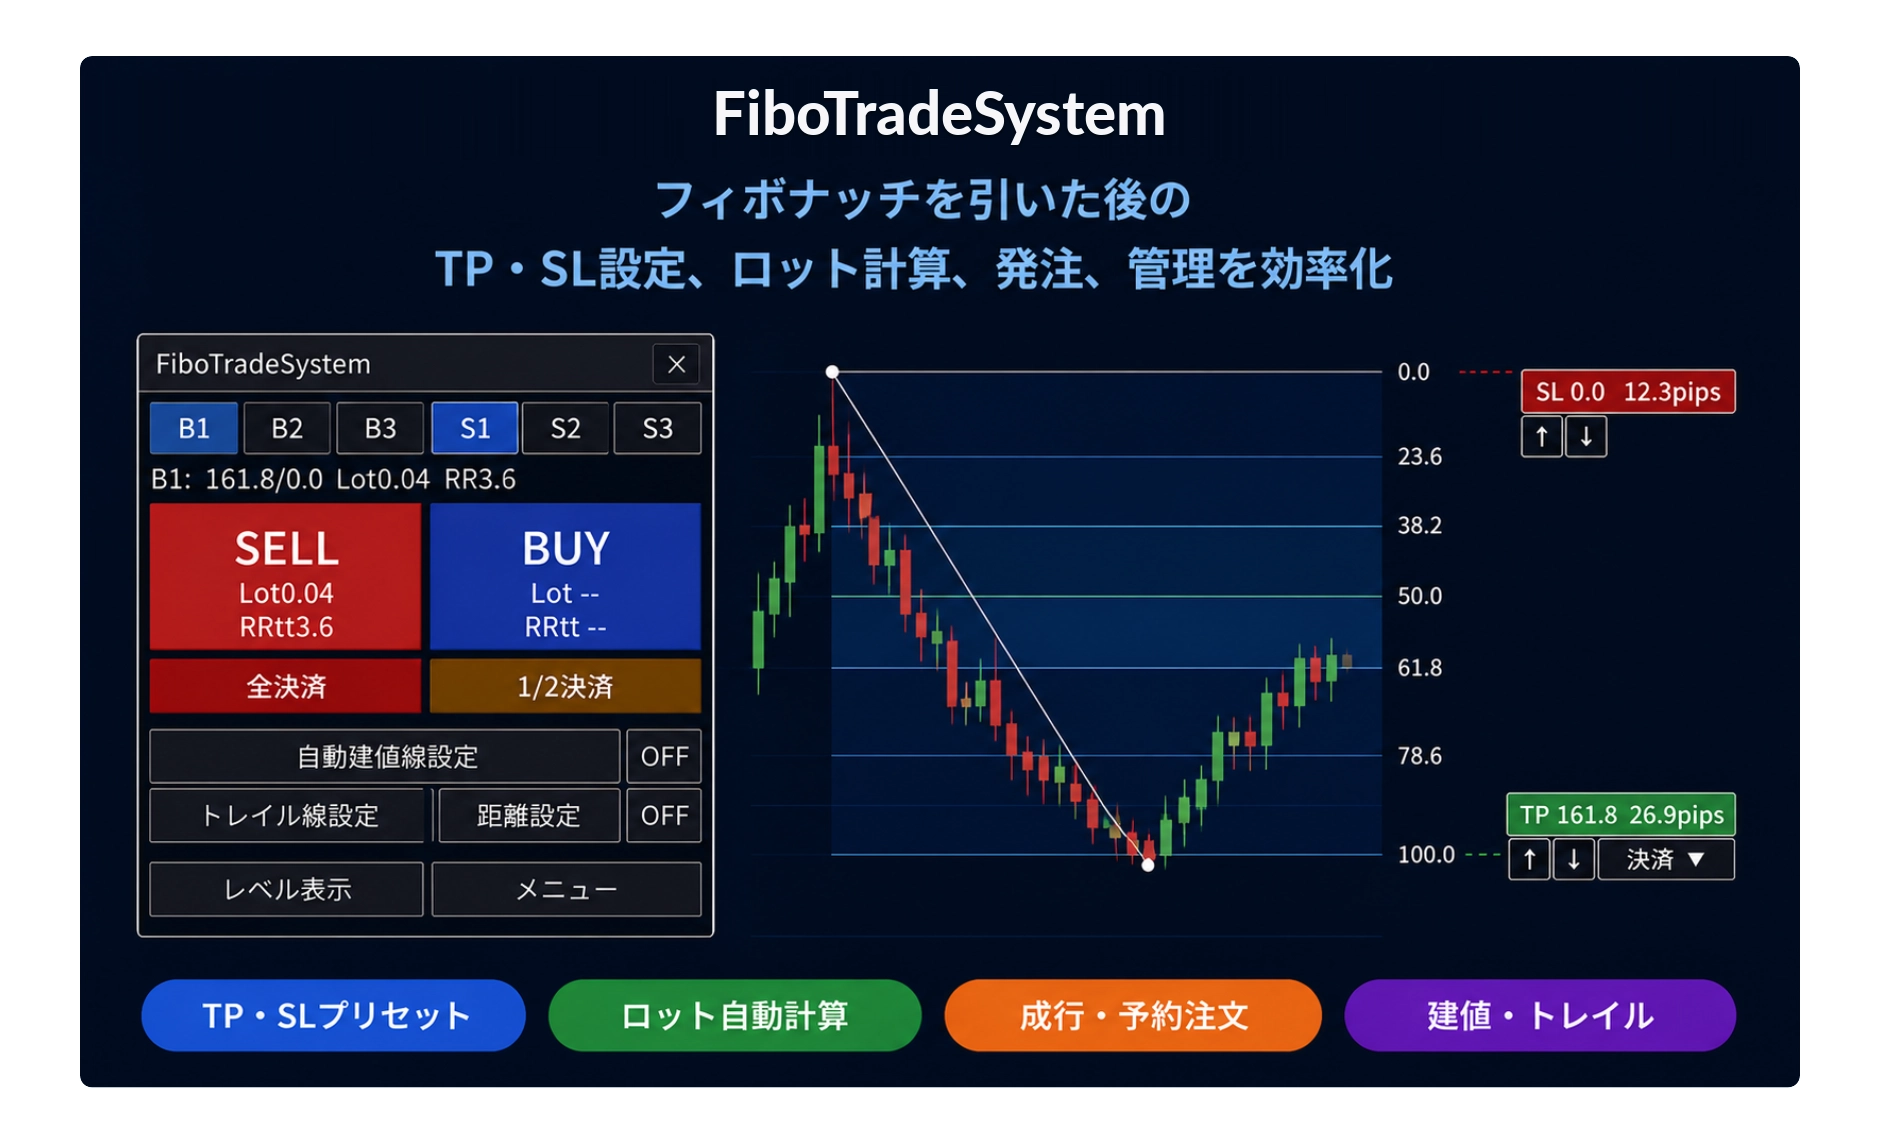
[Fibonacci Dedicated Tool Guide] Episode 5: Screen during Position Holding (Position Management Panel)
Continuation from last time: Post-order screen display
Last time, we looked at pressing the order button in market, pending, and normal modes.
This time is the next step. After the order goes through and a position is opened, what happens on the screen? Many of you may be curious. From here on, this is a management topic, not entry.
All features are here ⇒FibonacciTradeSystem
When you hold a position, a mini panel appears
When you hold a position, a small panel appears on the chart. This is the “mini panel.”
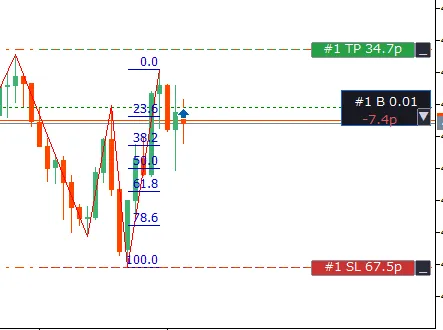
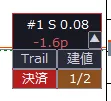
Initially, it is displayed in a collapsed state. What you can see is only two lines: the position number, direction, lot size, and profit/loss (pips). The profit/loss is shown in green for unrealized profit, red for unrealized loss, and white for almost zero, so you should be able to gauge the situation at a glance.
▼ Press to reveal the settlement button
Press the ▼ at the bottom right of the panel to expand it.
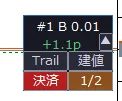
When expanded, operation buttons line up. One is the close button. There are buttons to close all positions and to close only half of the held positions.
Another is the trailing stop and breakeven movement buttons. These are features used to extend profits, so we will cover them in detail next time. For now, we will focus on settlement.
SL/TP can be dragged while holding a position, but there are directional constraints
Even after holding a position, the SL/TP badges can be moved by dragging. However, their handling differs somewhat from the planning stage before placing an order.
TP can be moved freely in any direction. But SL has constraints. It can only be moved in a direction that increases unrealized profit and cannot be moved to widen losses.
This feature prevents deviating from the original trading plan and moving SL in an unfavorable direction to avoid losses due to convenient interpretations.
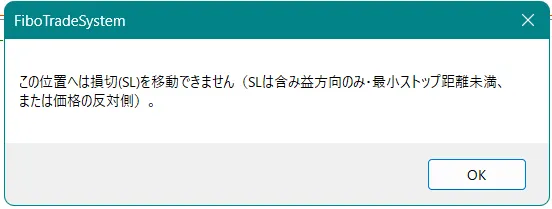
For example, for a BUY position, you can move the SL above the current position, but not below it. If you try to move it forcibly, a warning popup will appear and the move will be rejected.
One caveat.
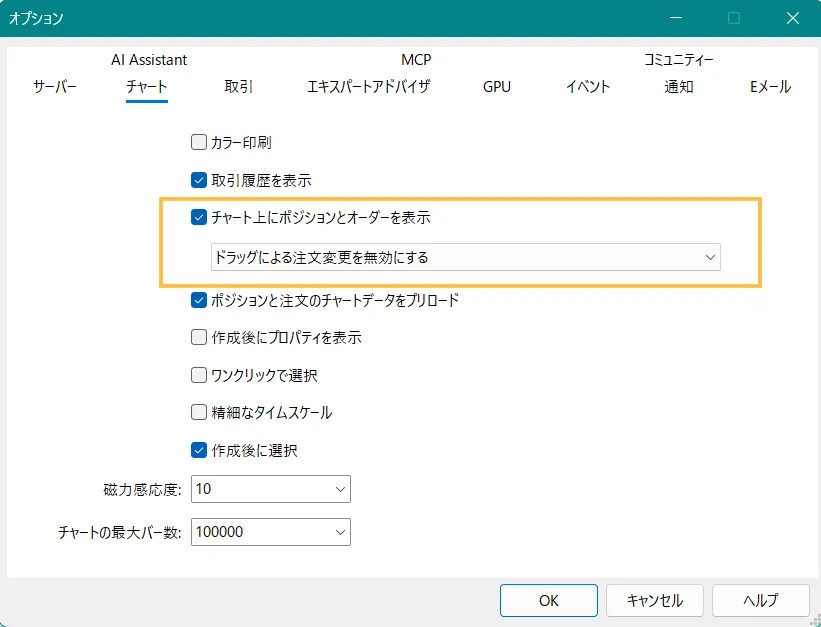
For moving held positions, be sure to OFF the MT5 standard feature “Enable dragging to move positions.”
You can settle all or only half
There are two types of settlement buttons.
One is to settle all. Pressing the button settles the entire position immediately.
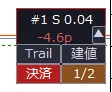
The other is half settlement. You can settle only half the lot size and keep the remainder. In this case, the SL/TP of the remaining position remains at their pre-set values. So you can secure half of the profits while letting the rest run.
▼ After half settlement
Position management panel and the aim of its features
The SL anti-adverse-direction function was added because I have experienced emotional trading where SL was widened to suit me, leading to increased losses. It exists to help trades progress according to the original plan and to prevent human emotional trading.
The same restriction is not applied to TP. You can move it flexibly when you want to revise your profit target. However, beware of chicken-taking-profits.
For half settlement, I expect you to secure profits for half and let the rest grow according to the original plan. Since profits are reliably secured, it makes it easier to hold positions stubbornly to ride trends in favorable markets.
Actual screens and details of other features are in the product page.
→Fibonacci Trade System (Product Page)
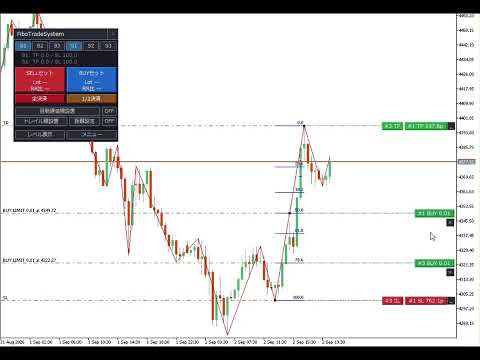
↑ This is the usage video.
All features of FTS
From entry to settlement, a summary of the features supported by FTS.
Fibonacci analysis & entry
Automatic detection and level construction
Draw Fibonacci lines to automatically detect and display levels
Three presets each for BUY & SELL
Just switch the TP/SL patterns
Drag to fine-tune TP & SL
Drag the badge to fine-tune price
Market order & pending orders
Automatically checks for TP/SL conflicts before placing orders
Identify only FTS orders
Does not affect manual orders or other EAs’ positions
Management of held positions
Mini panel management
Check direction, lot size, and profit/loss on the panel
Automatic breakeven movement
SL automatically moves to breakeven when price reaches a certain level
Trailing stop
Automatically trails SL as price rises
Lock SL in adverse direction
SL cannot be moved in the direction that would widen losses
1/2 & all settlements
One-click settlement of part or all of a position
Pre-order calculations
Automatic lot calculation
Automatically calculates the lot size that stays within the permissible loss
RR ratio automatic calculation
Risk-reward ratio displayed together with the lot size
Time and event display on the chart
Economic indicator display & notifications
Displays important indicators on the chart and notifies you before announcements
Session display
Shows start times for Tokyo, London, and NY sessions
JST display
Always show Japan Standard Time on the chart
Usability
Hide profit/loss
Hide the unrealized Pips to judge more easily
Pips size adjustment
Manually adjust pips size according to instrument
Normal mode
Place orders with one touch without drawing Fibonacci levels
Screen size adaptation
Automatically adjust panels to monitor resolution
Next time
In the sixth installment, I will write about features that extend profits and return to breakeven.
The trail and automatic breakeven buttons that were lined up on the expansion panel. This time we focused on settlement, but next time we will take a closer look at these features.