

Translate the following HTML to English, keep the HTML format, do not use markdown code blocks or insert line breaks, and perform standard decoding before translation: 「検証-PRO」導入書 Translation: "Verification-PRO" Implementation Document
This article is the introduction for the FX historical verification tool “Verification-PRO.”
https://www.gogojungle.co.jp/tools/indicators/46135
1. Check the included files
To perform a historical verification, you need historical chart data called “Historical Data.”
To make installation easy, Verification-PRO provides data for “USD/JPY” in advance.
Please check the “hist_usdjpy” folder inside the purchase folder.

This contains the hst files for each timeframe.
⚠ Depending on your PC settings, the .hst extension may not be visible and may appear as something like “USDJPY1,” but this is not a problem.
You can add other currency pairs, but for now we recommend running with USDJPY.
2. Open the Historical folder
MT4 has a folder containing historical data.
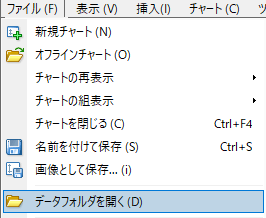
From MT4's top menu,
Please select [File] -> [Open Data Folder].
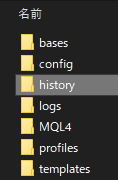
The Explorer should open.
Find and open the “history” folder.
Open the folder with the name of your broker’s trading server.
In my case I use OANDA, so it is “OANDA-Japan FX Live.”
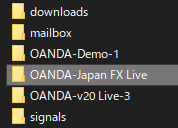
Inside, confirm that there are hst files for trading servers.
3. Confirm the currency pair’s unique string
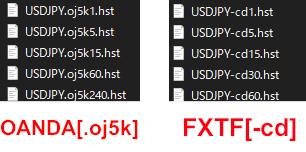
The historical data filenames have the following structure.
{Currency Pair Name} + {Unique String} + {Timeframe} + .hst
For USDJPY on a 1-minute chart with OANDA, it would be “{USDJPY}{.oj5k}{1}.hst”.
The problem is that the “unique string” part varies by broker.
Please note down this unique string.
Also, keep this folder open as you will use it later.
⚠ If there is no unique string, you may skip this step.
4. Import the historical data
We will import the prepared historical data into MT4.
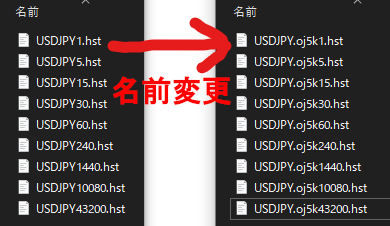
4.1 Rename the historical data
Add the previously noted unique string to the names of the historical data in the “hist_usdjpy” folder.
If using OANDA, “USDJPY1.hst” becomes “USDJPY.oj5k1.hst.”
⚠ Depending on your PC setup, the “.hst” may not be visible. In that case, do not add the “.hst.”
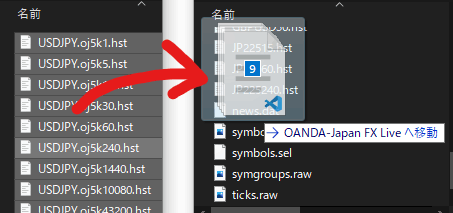
4.2 Copy the historical data
Copy the renamed historical data into the historical folder of the trading server.
⚠ Attention ⚠
If MT4 is currently running, please close MT4 now.
Prepare the historical folder opened in Step 3.
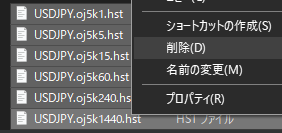
Delete from the broker’s server folder the historical data named “USDJPY” that originally existed there.
Copy the renamed historical data into the broker’s server folder.
That completes the historical data import.
5. Verify that Verification-PRO is working
Now that the historical data is prepared, here is how to set up Verification-PRO to run on MT4.
5.1 Install the indicator into MT4
Installing Verification-PRO into MT4 is the same as installing a normal indicator.
Just place “KENSHO_HUB” and “KENSHO_CHART” into MT4’s [Indicators] folder.
If you’ve never installed an indicator before, please refer to the article below for installation guidance.
How to install indicators (with authentication, without authentication)
5.2 Launch Verification-PRO on the chart
Open a USDJPY 15-minute chart.
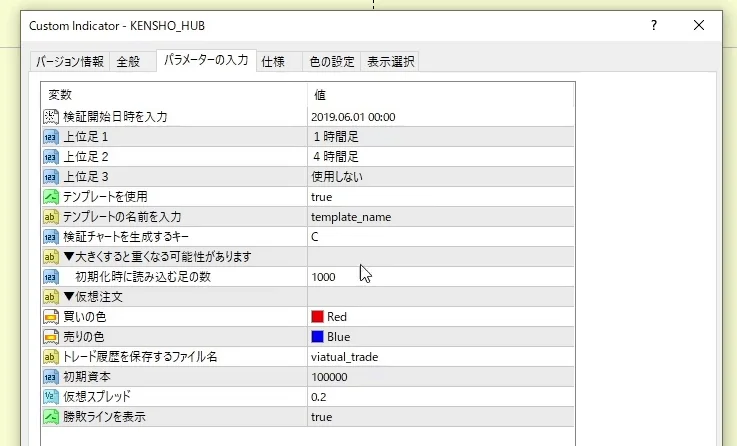
Just as with other indicators, place “KENSHO_HUB” on the chart.
This is the initial screen of KENSHO_HUB.
・
・
・
⚠ We will not go into detailed settings here, as this is just for a quick check.
For detailed settings, please refer to the article below after you finish the basic check.
“Verification-PRO” Function Manual
The key to generating the verification chart is set to default as “C.”
On the USDJPY 15-minute chart, press “C.”
A verification offline chart will open for the entries and the configured higher timeframe.
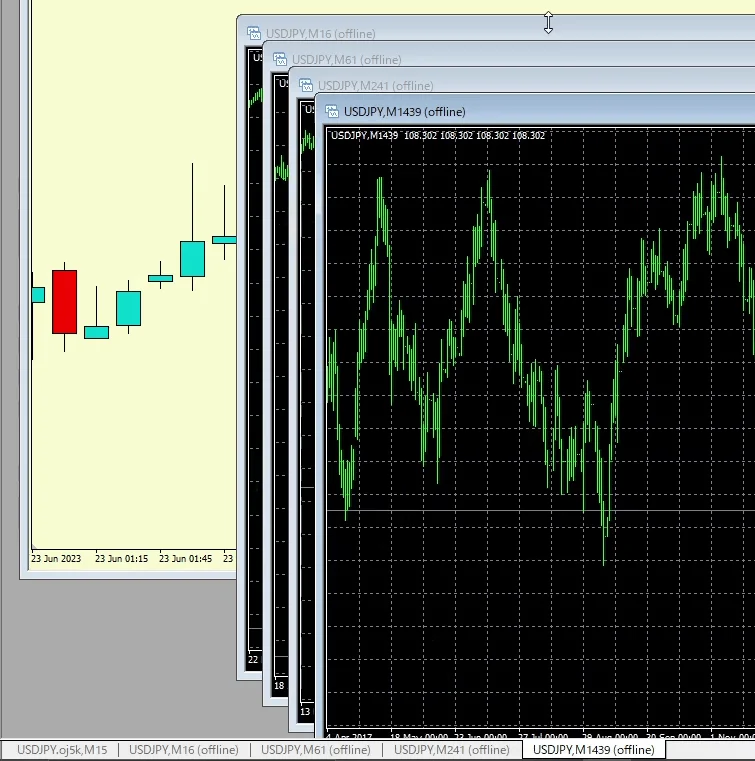
⚠ Attention!! ⚠
Do not close the chart “USDJPY 15 minutes with KENSHO_HUB installed.”
KENSHO_HUB functions as a communication hub for the verification offline charts.
Do not change currency pairs or timeframes, and do not close the charts.
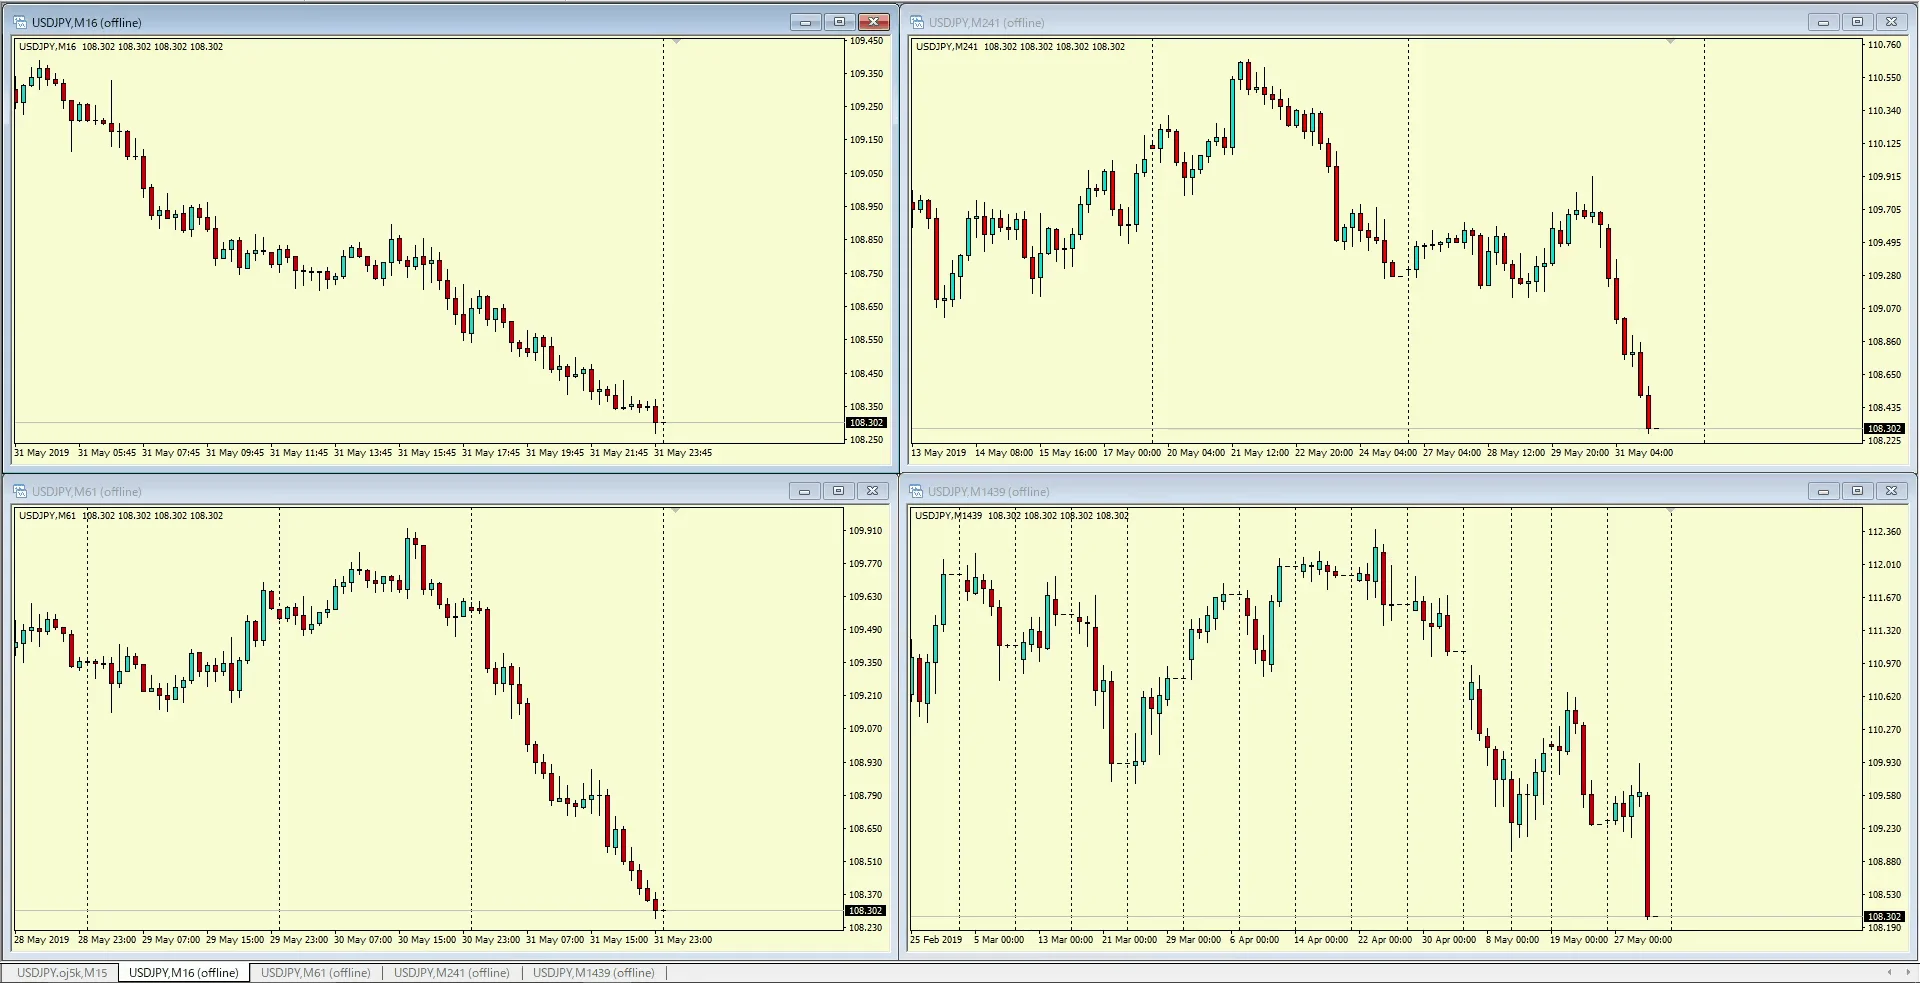
I have arranged the charts to be easy to read and aligned.
There are four offline charts in total: the 15-minute chart plus the configured higher-timeframe charts.
If you’re having trouble displaying properly at this point
A Troubleshooting guide has been created, please refer to that.
“Verification-PRO” Troubleshooting ↗
Next, we will install the KENSHO_CHART.
KENSHO_CHART is an indicator used to operate the verification offline charts.
Place “KENSHO_CHART” on each offline chart.
In this example, we place a total of four “KENSHO_CHART”s.
・15-minute live chart: KENSHO_HUB
・Higher-timeframe offline chart 1: KENSHO_CHART
・Higher-timeframe offline chart 2: KENSHO_CHART・Higher-timeframe offline chart 3: KENSHO_CHART
・Higher-timeframe offline chart 4: KENSHO_CHART
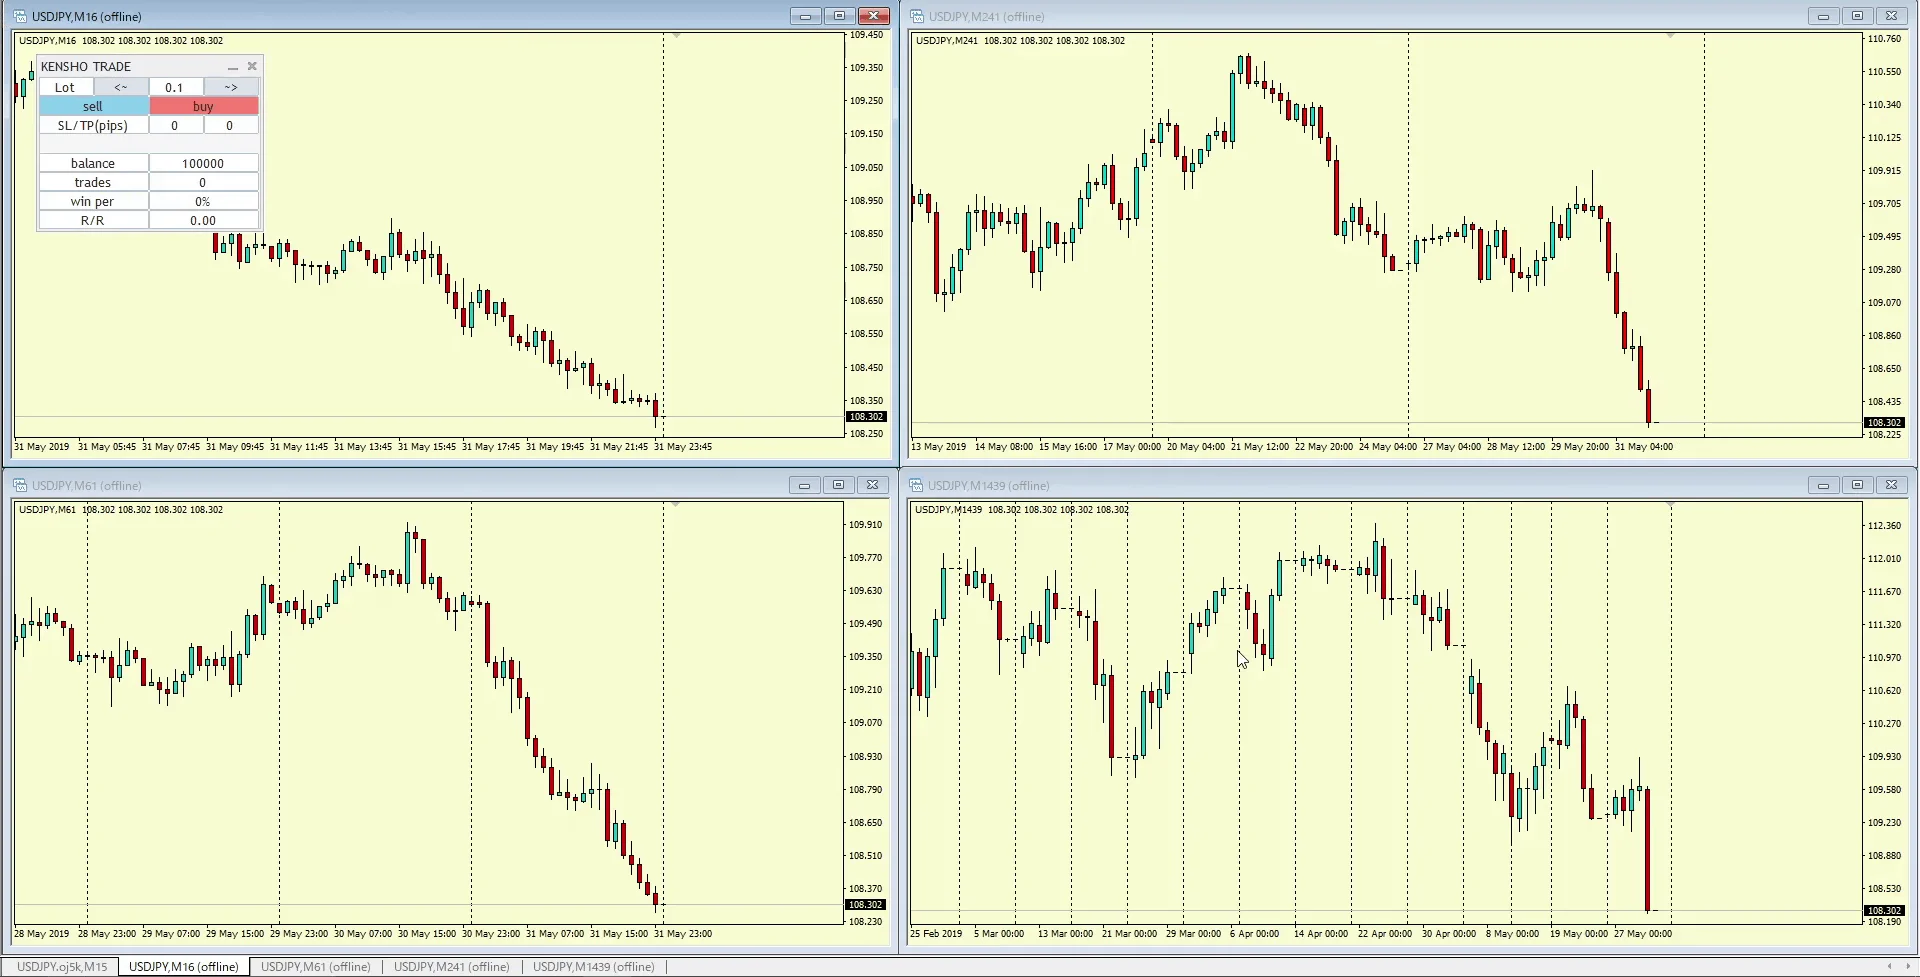
If the 15-minute chart shows the simulated trading panel as shown below, installation is successful.
You can also run “AUTO_ANALYZER” on the verification chart.
・
・
・
AUTO ANALYZERPlease refer to this for more information.
【Fully Automatic】 Indicator that analyzes environmental recognition ‘AUTO ANALYZER’
That completes the installation of Verification-PRO.
For beginners, configuring the machine may feel complex.
I personally have performed the verification and re-creation many times during setup, so
please take your time and confirm whether any steps were missed.
I hope Verification-PRO will be useful for your trading.