
【Attention sellers!】 Includes an explanatory video. Your first web authentication is surprisingly easy!
GogoJungle's little-known yuru-kyara mascots,ごごとじゃん。
Even those who aimed to be official characters have begun to accept the reality of remaining unofficial for life, but in this long-awaited video they explain “WEBauthentication setup”.
As the developer of the indicator,
“I want to try selling on GogoJungle, but it’s not an EA… won’t it get copied?”
I’m sure there are people who worry about that, but
on GogoJungle you can also add authentication to indicators!
The basic flow is as follows.
Register as a seller on GogoJungle
↓
Register product overview and price on My Page
↓
Insert WEB authentication into the source code
↓
Compile and create a compressed folder
↓
Upload the compressed file
Even after looking at this,it might seem easy or difficult…but next we’ll go into more detail.
【Register as a seller on GogoJungle】
First, from the New Member Registration at the top-right of the site, become a member of GogoJungle.
Then in My Page, click “Sell” to register as a seller.
【Register product overview and price on My Page】
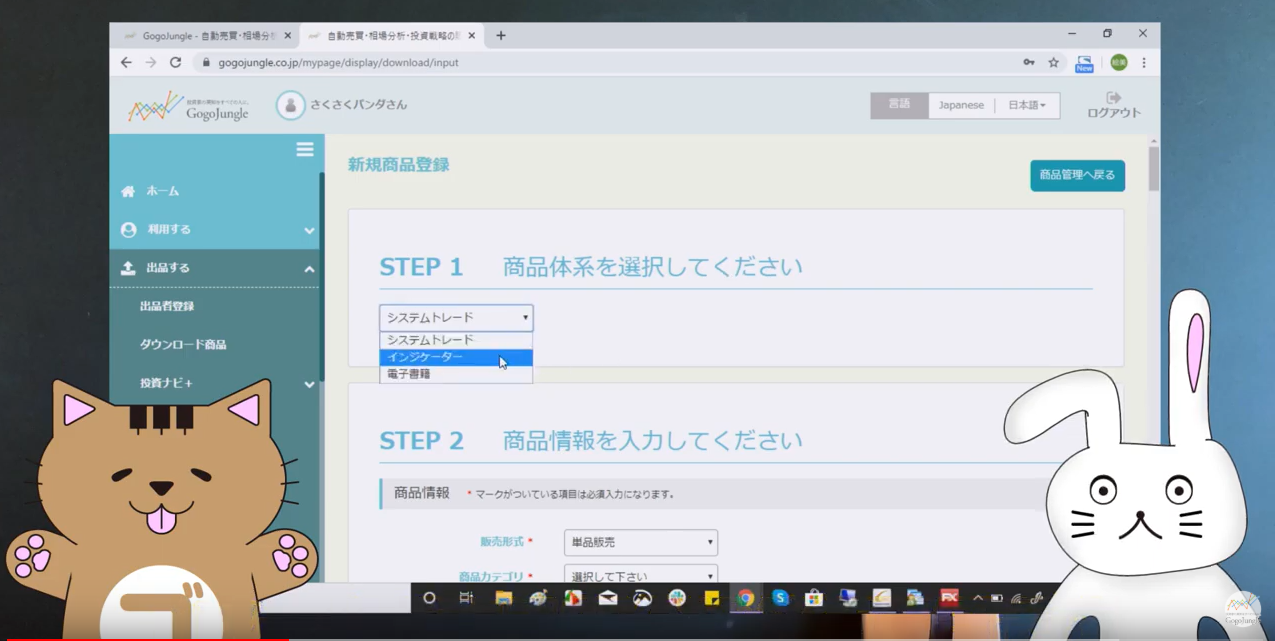
From My Page, click “Sell” and select “Downloadable product”.
In the top-right, select “Register new product” and then choose the appropriate category from System Trade, Indicator, or eBook.
(This time we’re doing indicator authentication, so choose “Indicator”.)
Then fill in and select all fields marked with *.
Here’s a key point: don’t forget to check “Set authentication code”!
Also, do not upload the file yet!
【Insert WEB authentication into the source code】
Open the source file of the indicator you created and copy all of the source code.
Return to My Page and paste the above source code into “Authentication Code Check”, then click “Insert Authentication Code”.
※Before inserting the authentication code, please make sure the old code isn’t in use.
If the old code is found, you will need to replace it with the new code.
↓Old code → New codeExample ↓
int Init()
int Start()
【Compile and create a compressed folder】
Replace the contents of the source files with the copied, authentication-containing version, then perform “compile.”
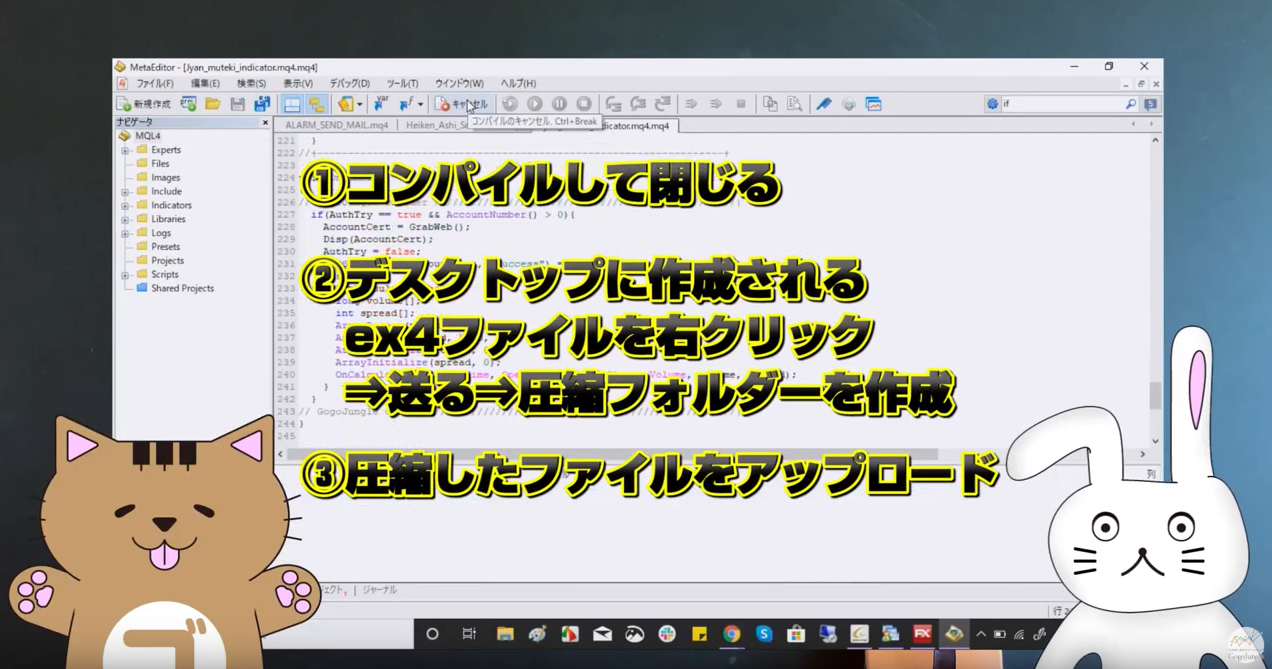
When compilation is complete, create a compressed folder on the desktop..
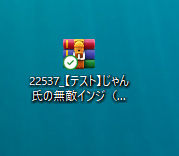
↑ The created compressed folder looks like this.
【Upload the compressed files】
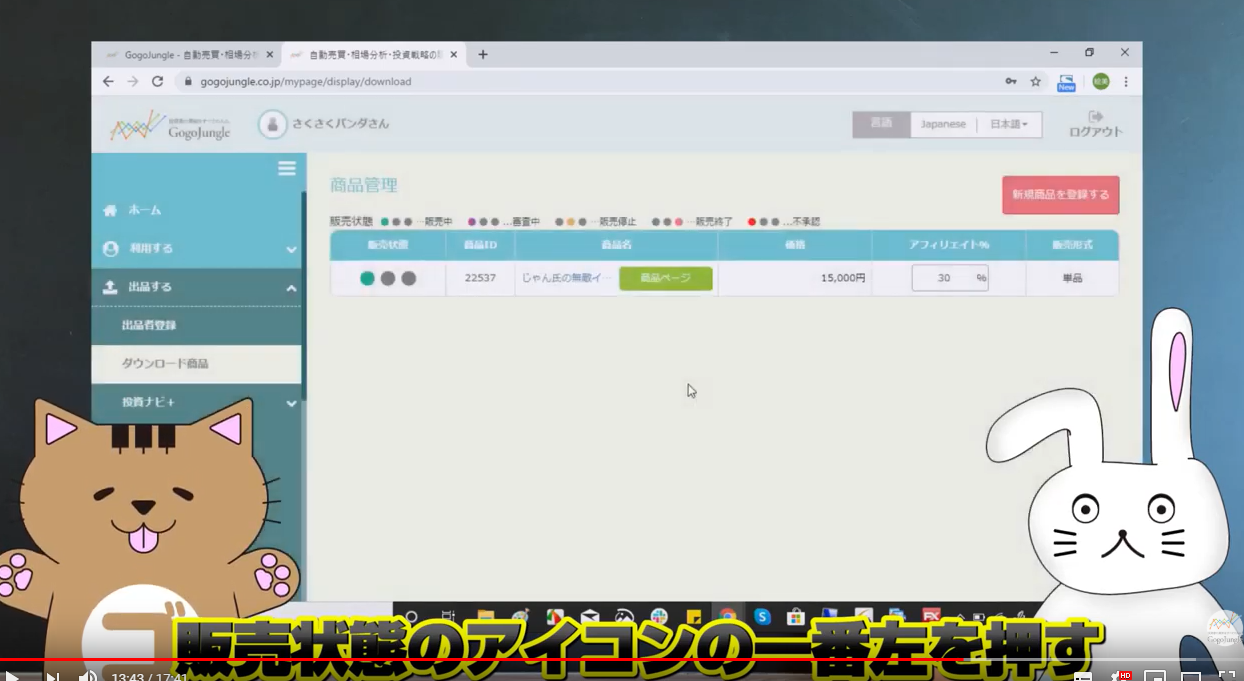
Go back to the product information and upload the compressed file in “Upload File”, then press Update to complete!
In “Product Management”, switch the left of the registered product’s “Product Status” to the green “For Sale” to preview the actual product page.
Reading this may not give you a clear image…Please check the video to see it for yourself!
(There are many other unofficial, freely made videos, so please check those as well (lol))
Written by kuwabara