
Saying that increasing the conditions would make the EA stronger was a mistake—the things that were added and disappeared during the development of the boundary
Until the EURUSD EA “KYOKAI -” is completed, what was tried, what didn’t work, and what was left behind. I’m writing the verification process using only the numbers recorded in the logs.
» The product page for EA “KYOKAI -” is here
As you add conditions, the EA becomes smarter. Following that belief, many of the added conditions did not remain by the end.
Merely touching was not enough to gain an edge
Last time, we found that horizontal lines react more readily to the “First Touch at the pullback.” However, that was a diagnostic value based on movement. To actually trigger trades, we needed to narrow down “what market conditions make mean-reversion more likely.”
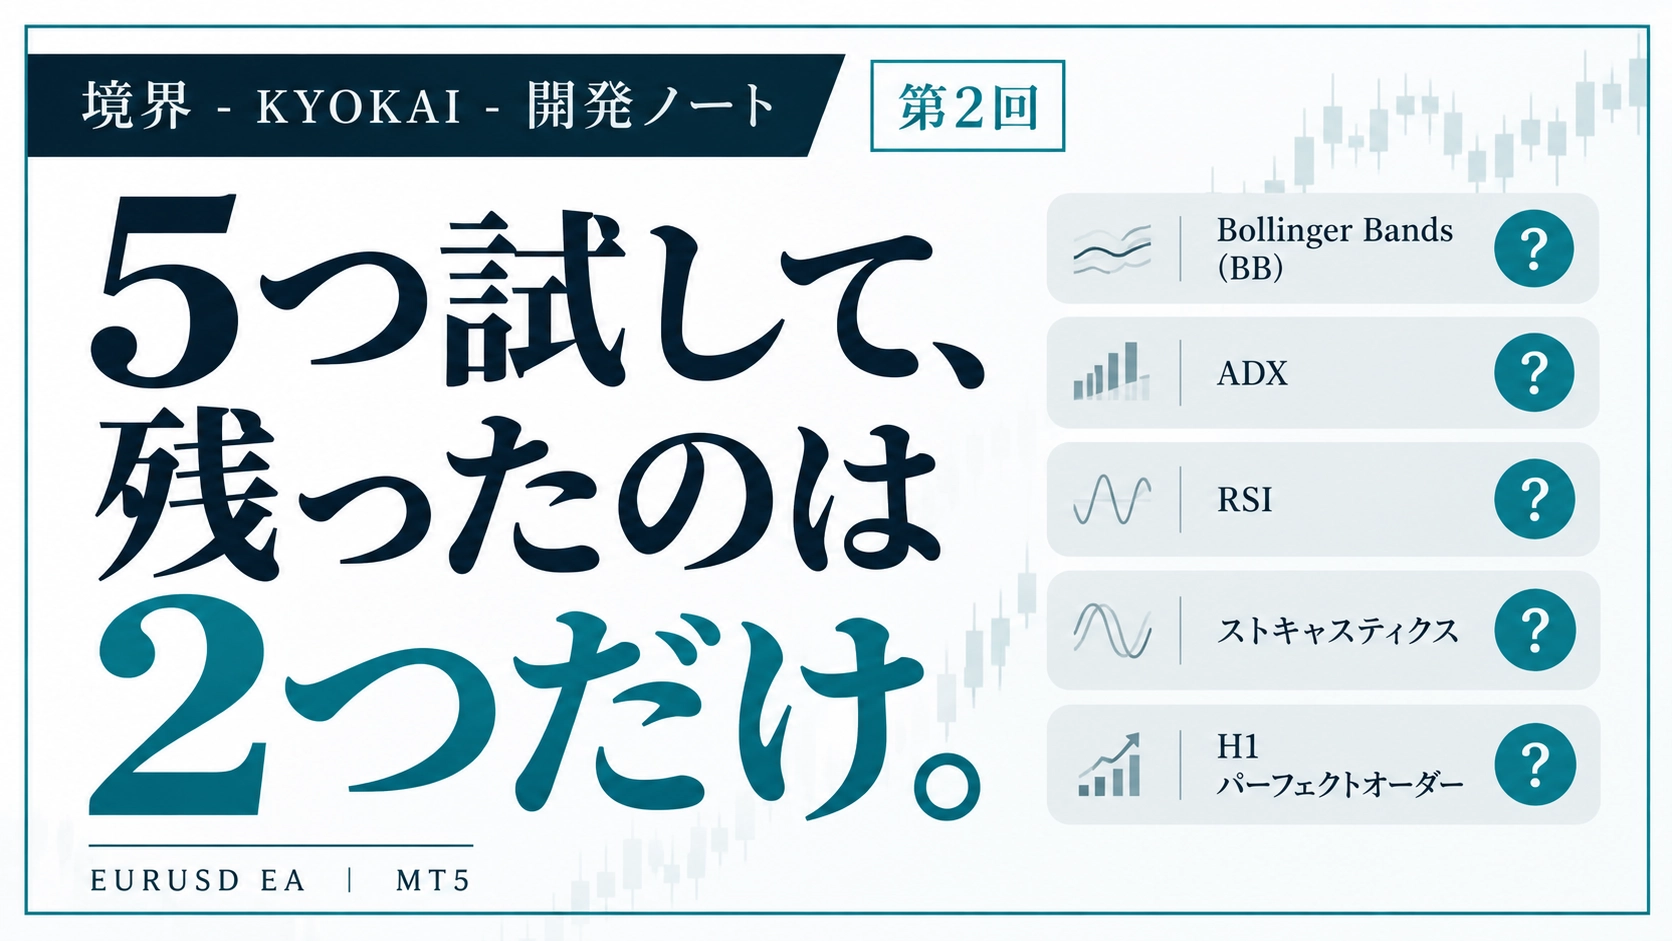
So we tried adding every conceivable condition to the M15 First Touch mean-reversion strategy one by one. Bollinger Bands (BB), ADX, RSI, Stochastics, H1 Perfect Order (H1 PO), etc. We kept testing while changing each condition to see which ones were truly useful.
Only BB and ADX remained. RSI and Stochastics fell away
| Conditions tested | Result |
|---|---|
| Bollinger Bands (BB) | Remained |
| ADX | Remained |
| RSI | Dropped |
| Stochastics | Dropped |
| H1 Perfect Order | No effect (see next chapter) |
Being a mean-reversion strategy, the target is a scenario where “price has moved too far, and the trend isn’t too strong.” BB measures the overextension, and ADX measures the strength of the trend. Only these two remained until the end.
The numbers were as follows. Verification results with a population of 5 currencies and 4,835 cases.
| Condition | Cases | Win rate | PF | Average |
|---|---|---|---|---|
| BB2.7σ or higher + ADX20 or lower |
574 | 54.4% | 1.19 | +6.53p |
| BB2.9σ or higher + ADX22.5 or lower |
633 | 32.81% | 1.22 | +9.95p |
This “BB2.9・ADX22.5” remains in the current KYOKAI as is.
One more point to look at: the win rate dropped from 54.4% to 32.81%, but the PF rose from 1.19 to 1.221. If you narrow SL and widen TP, the win rate tends to drop.If you only look at win rate, you might discard the best shape.
EURUSD-specific, M15, First Touch mean-reversion EA “KYOKAI -”
» View the product page for KYOKAI -
Even adding H1 Perfect Order hardly changed anything
We also tried adding H1 Perfect Order (H1 PO) aligned with the higher-timeframe trend. We overlaid it on the PF1.221 condition of BB2.9・ADX22.5・TP100/SL40.
Number of trades
| No H1 PO | 643 settled | |
| With H1 PO | 404 trades |
PF (bar at the far right set to PF1.6)
| No H1 PO | 1.221 | |
| With H1 PO | about 1.227 |
Note: PF is almost the same. The bar length looks almost the same, which is its meaning.
PF is about 1.221 to 1.227. Very little change. Meanwhile, the number of cases dropped from the 600s to around 400. It seems adding conditions reduces trading opportunities.
Increasing conditions does not always strengthen performance.
Trying to fix losing years ended up erasing good trades
In real trading tests, another area of difficulty was annual performance differences. The results when the exit was changed to H4 ATR were as follows.
- 2024: -2,646 yen (PF0.94)
- 2025: +34,666 yen (PF2.05)
- 2026: +3,556 yen (PF1.17)
Only 2024 was in the red. By analyzing this year's losses by H1/H4 trends, the reasoning was simple: “If the H4 close is below EMA20, prohibit BUY entirely.” So we tested a setting with that condition added.
| Settings tested | 2024 | 2025 |
|---|---|---|
| Before change (baseline) | +4,540 yen PF1.16 |
+32,751 yen PF2.00 |
| BUY prohibited | +6,482 yen PF1.25 |
+18,358 yen PF1.56 |
| Restrict specific SELL only (adopted) | +9,234 yen | +36,949 yen PF2.21 |
The setting with BUY prohibited entirely improved in 2024. But in 2025, it dropped from +32,751 to +18,358 yen—a drop of about 40%. That’s because the previously profitable pullbacks for BUY were heavily restricted.Trying to fix a bad year ended up breaking a good year.
Therefore, we abandoned total prohibition and limited restrictions to certain Sell conditions on the right side (resistance). This became the final adopted setting. Across all three years 2023–2025, it improved relative to the baseline (2023 went from +5,395 to +6,745). The KYOKAI retains this limited restriction.
What cannot be judged by these numbers alone
The final adopted setting was also adjusted to fit past data. It is true that performance improved over three years, but there is no guarantee it will work the same way in the future. The reason for “limiting” the added conditions was to reduce risk as much as possible.
In the end, what remained and what disappeared
|
Remained ・BB 2.9σ ・ADX ≤ 22.5 ・Top-level filter that excludes only certain H1/H4 states (limited higher-timeframe filter) |
Disappeared ・RSI ・Stochastics ・H1 Perfect Order (no effect) ・BUY prohibition on H4 EMA20 break |
Summary
- What remained after adding was only BB and ADX; RSI and Stochastics disappeared
- Even with H1 PO added, PF stayed almost the same and the number of trades decreased
- There were patterns where PF rose despite a lower win rate. The decision cannot be made by win rate alone
- Trying to fix a losing year by prohibiting BUY reduced profits in good years
- Conditions are better kept by limiting rather than simply adding more
The EA created after this verification
KYOKAI -
Targeting the First Touch of horizontal lines with a mean-reversion approach for EURUSD.
| Target | EURUSD only, M15 |
| Entry | First Touch mean reversion on horizontal lines (R1, R2, S1, S2) |
| Narrowing | Bollinger Bands, ADX, higher-timeframe filter |
| Settlement | SL tied to H4 ATR and trailing |
Next:I thought profits would rise if TP were farther, but PF kept falling. I stopped using fixed pips and continued until reaching ATR.
※This is historical verification results and does not guarantee future performance.