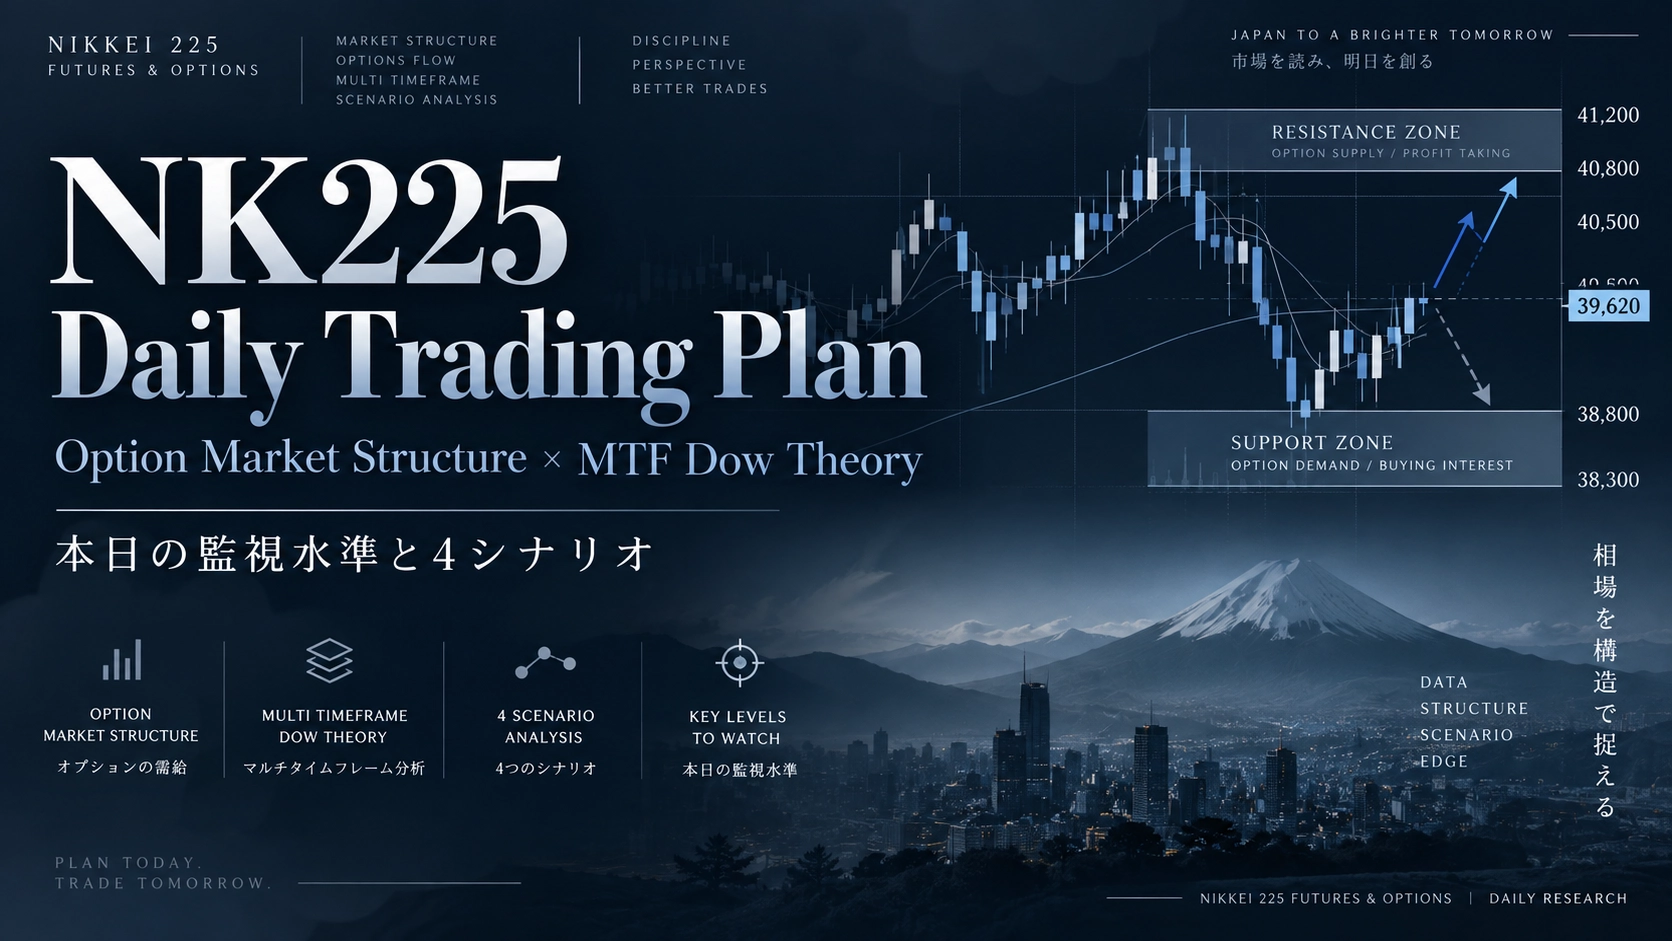
Today's conclusion — check in 30 seconds
Current best is shorting on a three-point ③ retracement. If reached the lower band, prioritize ② rebound long.
The 4H timeframe has shifted to a range and a down-move; highs fell from 67,140 to 66,850. Conversely, the lows were 65,090 to 65,150 and largely range-bound, with consolidation continuing. The current price of 65,650 sits between the lower A-range 65,150 and the upper A-equivalent 65,860. First stall at 65,860–66,060awaited, if it falls to 65,090–65,290, prioritize the bounce condition for ②. If 66,410 closes above and holds on a 15m basis, that is a signal for ①; if 64,680 closes below and holds on the downside, move to ④. In a central chase from 65,650, this is not the time to chase.
Current primary scenario
◎③ Return selling65,860–66,060Switch priority to the lower band
② Lower-band rebound long65,090–65,290When breakout conditions are met
① Break longBreak above 66,410 and holdWhen breakdown conditions are met
④ Break shortBreak below 64,680 and maintain65,860 represents both a selling zone and a short-term wave-turning point.If the 15m close stays above this level, do not continue selling just because it’s at a higher level. Emphasize the downside stall, and after breaking above, switch to confirming a fresh decline.
Previous validation and its reflection on today
① Last time's main view:On 9/28, the ◎② within the second monitoring zone rebounded from 66,080 to 66,850. T1 66,590 and T2 66,780 were reached, but 66,980 was not. According to the user’s 15m path, this was also considered formed. The indicated MFE of about +670 yen is an estimated figure due to no trade records.
② Functional points and limits:66,850 lies within the previous ③ first monitoring zone; the high-low spread from there to 65,150 was 1,700 yen. The portion exceeding the final target of 65,860 from the previous ③ is treated as a switch to ④. T1 65,490 and T2 65,300 were reached, but 65,090 was not. Reaching the target is a function of price path assessment and does not imply realized P/L or that all entries were filled.
③ Reflection for today:The zone arrangement functioned, but the assumption of limiting large moves based on Positive Gamma needs revision. Merely stating it was a reversal within a past range cannot verify Gamma’s effect. This time the plan prioritizes price closes and wave changes, shifting from ③ to ②, then to ④ when conditions are met.
Option Market Structure × MTF Snapshot
GAMMA REGIME
Latest value unavailable
Judgment as of 9/29 is provisional
TOTAL GEX / ZERO GAMMA
Latest value not confirmed
Previous value not used as basis for today
LOWER MTF CONFLUENCE
65,150 / A
Current value minus 500 yen
UPPER MTF CONFLUENCE
65,860 / A-equivalent
Current value plus 210 yen
4H
Range / down-move
Turn: 66,850
Push low: 62,530
Return high: 66,780 (X)
1H
Range / up-move
Turn: 65,150
Push low: 65,860 (X)
Return high: 66,850
15m
Range / down-move
Turn: 65,860
Push low: 65,150
Return high: not formed yet
(X indicates a prior close breakout of the old structure. 65,860 monitors the resistance turned from the old 1H push low. Above, 4H turn and 1H return highs coincide66,850 (A-equivalent) also exists. A represents overlapping values across multiple bars, not confirming reversal or probability. No S-rank today. No corrections based on Option alignment.
Push location:From 62,530 to 67,140 is a rise of 4,610 yen. 38.2% pullback is 65,379; 50% pullback is 64,835; 61.8% pullback is 64,291. The current pullback rate is about 32.3%, and 65,150 about 43.2%. Since the current price sits above the 38.2–50% range, the pullback buying rule has not yet activated. Below 65,379, raise the monitoring priority for ② and await specific rebound setups at 65,090–65,290.
Wave count:If 66,850 recovers and holds on a 4H close, consider a retest of 67,140–67,180. The alternative count from the original material (66,560 close breakout, 67,180 breakout and pullback, 66,560 support turned, then 69,300) remains an unfinished conditional extension and 69,300 is not the target for today. Breaks below 65,090 and then clearly below 64,835 require re-evaluating the premise for upward movement.
Today's Important Monitoring Levels
66,850
A-equivalent | 4H turn + 1H return high
A higher-timeframe move up confirmed with 4H close recov.
Upper-level confirmation points:67,140–67,180 (recent high / alternative count gate). Lower-level structural origin:62,530(4H push low). Do not confuse monitoring zones with scenarios beyond them.
Scenario Switch Map
Stalls at 65,860 → ◎③First-zone reversals confirmed. If 15m close recovers and holds, reassess the basis for early selling.
Break above 66,110 → ③ Second ZoneAfter exiting First Zone, wait for a new rebound setup around 66,150–66,350.
Break above 66,410 and hold → ①Confirm on 15m close. Upper-timeframe recovery judged by 4H close at 66,850.
65,090–65,290 → ② PriorityFor ③, push to 65,390 protection; exit at 65,150–65,090. ② requires rebound confirmation.
Break below 65,020 → ② Second ZoneExit First Zone. Re-evaluate at 64,730–64,930 and avoid rushing into ④.
Break below 64,680 and hold → ④Confirm on 15m close. ② ends; wait for renewed downside after pullback.
Today's 4 Scenarios
Priorities updated by price and fulfillment conditions. The order ① → ② → ③ → ④ is fixed for presentation.
① Break-following (Long)Breakout conditions fulfilled
| Monitoring | 66,350–66,410(Above the ③ Second Monitoring Zone). MTF overlap is B. |
|---|
| Fulfillment | 66,410 is clearly broken above on a 15m close and held. Breaks with wicks alone or jump at open do not count. |
|---|
| Entry | After retest near break price, on 1–5 minute bars close above the return high to resume uptrend. Lead on 1-minute, add on 5-minute confirmation.On an initial 1H close,66,520 regained; consider making the position on the first pullback..Stop just beyond the origin low. |
|---|
| Exit / Switch | 66,250 Lose the 15m close below and retest; if fails, exit. Prioritize near origin stop. If breakout fails, reassess ③. The cycle end target is65,950 and not a tolerance for losses. |
|---|
| Target | T166,850→ T267,140–67,18067,600.66,850 partial profit taking. A corresponding 4H close-and-hold at that level would confirm bullish momentum on higher timeframes. |
|---|
| Option / Structure | Latest Option data not provided. No Gamma adjustment from Options.66,410突破 indicates a shift to short-term buying, separate from the 4H up-move confirmation level66,850. |
|---|
② Pullback Buy / Lower-Band Rebound LongPriority in the lower band
| Monitoring | First Monitoring Zone65,090–65,290: MTF overlap A at65,150 and the previous low65,090. Inside 38.2–50% retracement band. Second Monitoring Zone64,730–64,930: 50% retracement64,835 and 9/21 low64,870. MTF overlap is B. |
|---|
| Fulfillment | In Zone 1, confirm a bottoming and rebound. If reached, prioritize ② over ③; however, reaching alone does not constitute a buy. In Zone 2, cross 64,835 to verify a rebound near the 50% retracement and watch for a potential down-move and recovery. Also be mindful of down-sloping 1H and 15m 20MA. |
|---|
| Entry | Zone 1 allows a small lead on rebound. Standard entry is a break of the close above the return high on a 1-minute chart, with an additional entry after a 5-minute upturn confirmation. Zone 2 requires a re-set-up. Stop just outside the origin high.The independent 1H position for ③ is not newly established in the original material. |
|---|
| Exit / Switch | Zone 1: Break below 65,020 triggers exit → re-evaluate Zone 2 → re-enter only on a fresh setup. Do not add to losers. Zone 2: Break below 64,680 triggers exit. If 15m close breaks lower and holds, ② ends and ④ begins. Do not hold beyond 64,280 as cycle end target. |
|---|
| Target | T165,650→ T265,980→ Final66,07065,860 resistance to be watched; partial profit-taking at 65,860–65,980.66,410 after 15m close above and hold, reevaluate extension under ①. |
|---|
| Option / Structure | Latest Options correction: none. 4H and 15m indicate down-move; 1H indicates up-move.65,860 is the overlap of old 1H push-low resistance and 15m turn price. It does not guarantee reversal or profit and does not imply a warranty of drawdown protection. |
|---|
◎ ③ Return selling / Range-top decline shortCurrent primary view
| Monitoring | First Monitoring Zone65,860–66,060: MTF overlap A equivalent,65,86065,930–65,980,66,000 Second Monitoring Zone66,150–66,350: intraday return high on 9/2866,210. MTF overlap is B. |
|---|
| Fulfillment | Near the lower bound of Zone 1 at 65,860, observe a stall and decline. If the same level recovers and holds on a 15m close, the short-term wave would turn upward, so proceed with a temporary hold on A-based early selling. Watch whether the price returns and stabilizes, or whether a new downside reversal is confirmed by resistance on the zone’s upper side and re-evaluate. In Zone 2, wait for a pullback confirmation on 1–5 minute bars. |
|---|
| Entry | Zone 1, corresponding to A, allows small early selling on actual decline. Standard entry is a close breach of the 1-minute pullback low to lead, with additional entry after a 5-minute downturn confirmation. Zone 2 requires a re-setup. Stop just outside the origin high.The independent 1H position price for ③ is not added in the original material. |
|---|
| Exit / Switch | Zone 1: Break above 66,110 leads to exit → re-evaluate Zone 2 → re-enter only on a fresh setup if decline returns. Exit if 66,410 is broken on a 15m close and hold.66,410 after 15m close break leads to ①. Lower side: 65,090–65,290 prioritize ②. do not leave short positions open. If it falls further, wait for ④ conditions separately. Cycle end target in the original plan is66,600. |
|---|
| Target | T165,390→ T265,150→ Final65,090。Take partial profit at T1 and protect remaining above break-even.65,379Below this sits in the 38.2–50% band, so do not push sales further; observe ② rebound conditions at or below 65,290. |
|---|
| Option / Structure | Latest option corrections: none. The 4H and 15m show a down-move; 1H shows an up-move.65,860 is the overlap of old 1H push-low resistance and 15m turn price, not a guarantee of reversal or profit. Evaluation does not guarantee profits. |
|---|
④ Break-following (Short)Break below conditions fulfilled
| Monitoring | The main line is64,680. Leading signal is a break below 65,020 on a 15m close, but that alone does not make ④ valid. MTF overlap is B. |
|---|
| Fulfillment | 64,680 is clearly broken below on a 15m close and held. Confirm the double-bottom break and 50% retrace step by step; wicks-only breaks are excluded. |
|---|
| Entry | After a pullback near break price, break the pullback low on 1–5 minute closes and resume downward. Lead on 1-minute, confirm with 5-minute for addition. For the core entry price, on the 1H close64,260 after the break, consider the next pullback for entry.Stop just outside the origin high. |
|---|
| Exit / Switch | 64,860 recover with a 15m close to exit. Prioritize near-origin stop. After a break lower, reassess the lower-side rebound structure and avoid an immediate reversal to buy. The cycle end target in the original plan is65,190 |
|---|
| Target | T164,290→ T263,920→ Final63,680。64,290 is near the 61.8% retrace; partial profit. After T1, evaluate core long at 64,260 for core position formation. |
|---|
| Option / Structure | Latest Gamma and Zero Gamma are not confirmed.64,680 is a price-structure-based reference and does not imply Negative Gamma. Re-evaluate the premise for upward movement on 50% retrace, but a break below the 4H push-low of 62,530 is not equivalent. |
|---|
Current actions
If it goes higher
- Confirm stall and pullback around 65,860, consider ③.
- If 65,860 recovers on a 15m close and holds, pause the prior selling bias.
- A break above 66,110 targets Zone 1 exit. Wait for a new reversal in Zone 2.
- Break above 66,410 and hold on a 15m close → move to ①. Partial profit-taking at 66,850 and confirm 4H close.
If it goes lower
- Do not chase selling from current 65,650.
- Protect profits at 65,390; below 65,379 place greater focus on ②.
- Prioritize ② in the 65,090–65,290 zone. Do not leave ③ long positions open between 65,150–65,090.
- A break below 65,020 exits Zone 1 of ②. Wait for 64,680 break and hold to fulfill ④.
Risk Management
MFE: Move to break-even or small profit at +200 yen; secure at least +100 or use trailing at +300 yen.Protect earlier targets at nearby resistance or support. Do not count profit simply by the spread movement.
Actual stop is just outside the turning point.Treat the invalidation price of each zone as the outer bound, and do not extend losses to a distant “full exit” level. The complete exit concept is separated as the cycle end criterion. Transition to Zone 2 is not via adding losing lots, but re-entry after exiting.
Do not trade just because you hit A-rank level.Real-time pullbacks or rebounds should be limited to small sizes; standard entries are close to price closes on 1-minute turns, with additions on 5-minute confirmations. For B zones, wait for a test or 1–5 minute turn. Do not widen the invalidation price by monitoring only zone edges.
Do not tie Gamma’s sign to the volatility upper bound.Gamma varies with underlying prices. Do not fix judgments to an entire session; prioritize price structure breakdowns and recoveries. The latest Gamma, GEX, Zero Gamma, OI, Wall, IV, and Skew are not confirmed today.
The analysis validity period is from 9/29 daytime to 9/30 06:00 JST. Even if moving from day to night, the same wave judgments apply, but this does not imply a position carry. Actual holdings follow day-trading end rules. Do not cling to initial figures when gaps at open or updates to 15m structures occur; re-setup as needed.
Disclaimer — NK225 DAILY TRADING PLAN2026-09-29
Prices and MTF sources: from user-provided “nk225_blog_discord_style_20260929_0609_JST_night_close.html” and this interpretation. Reference value 65,650 yen; data update time 06:09 JST. The previous conditions come from the 9/28 Daily Trading Plan and the companion notes. Execution details for trades and full history of 1-minute/5-minute/1H closes are not provided.
Latest option values are not included in this attachment; Gamma judgments and rank adjustments from Options are on hold for today. The previous Positive Gamma is noted for verification only. Increases in OI indicate new positions; decreases indicate unwinding, but OI alone cannot determine buyer or seller direction.
Calculation note: retracement level = 67,140 − (67,140 − 62,530) × retracement ratio. The displayed values are rounded in yen and are not the same as the quoted price at order entry. The price difference from 9/28’s 66,080 → 66,850 is 770 yen; 66,850 → 65,150 is 1,700 yen. These are not realized profits or losses.
Supplementary source:CME Group “Options Gamma – The Greeks”(Gamma varies with underlying price). Today's price levels and scenarios are based on the provided materials.
This document aims to provide information on market structure and scenario-based conditions. It does not guarantee trading results; ultimate investment decisions are the responsibility of the user.